


Introduction
If you’re planning to build a website, learning how to install WordPress on Hostinger website is one of the smartest starting points. WordPress powers a massive portion of the internet because it’s flexible, beginner-friendly, and scalable. Meanwhile, Hostinger is known for its affordability, speed, and simplified hosting dashboard.
This guide explains the entire process in a clear, educational way—from setting up hosting to launching your WordPress site. Whether you’re a beginner or someone looking to streamline your workflow, you’ll understand not just what to do, but why it matters.
Why Choose WordPress and Hostinger Together?
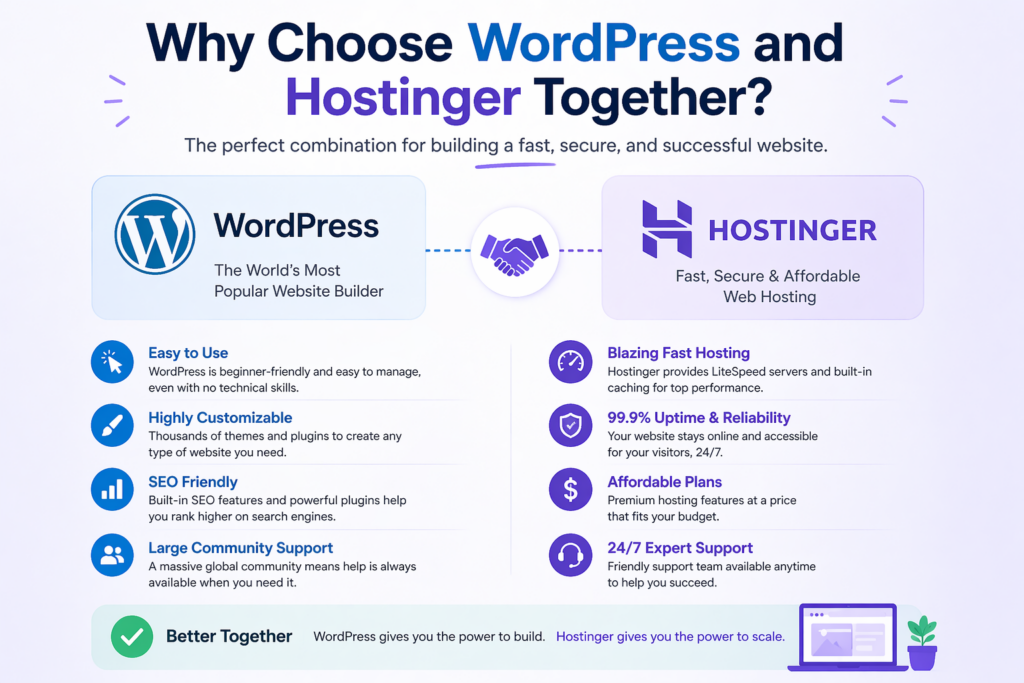
Before jumping into installation, it’s important to understand why this combination works so well.
1. WordPress: Flexible and Powerful
WordPress is an open-source content management system (CMS) that allows you to:
- Build blogs, business websites, or eCommerce stores
- Customize design with themes
- Extend functionality using plugins
- Scale as your traffic grows
2. Hostinger: Beginner-Friendly Hosting
Hostinger simplifies the technical side of hosting by offering:
- One-click WordPress installation
- Optimized servers for WordPress performance
- Easy-to-use dashboard (hPanel)
- Affordable plans for startups
Together, they create an ideal environment for launching a website quickly without needing advanced technical skills.
Step 1: Purchase Hosting and Domain
The first step in installing WordPress on Hostinger is securing your hosting plan.
Choose a Hosting Plan
Hostinger typically offers several plans. For beginners, a basic shared hosting plan is enough. However, if you expect growth, consider a higher-tier plan for better performance.
Register a Domain Name
Your domain name is your website’s address (e.g., yourbrand.com). Many Hostinger plans include a free domain for the first year.
Tips for choosing a domain:
- Keep it short and memorable
- Avoid hyphens and numbers
- Match your brand or niche
Once your purchase is complete, you’ll gain access to the Hostinger dashboard.
Step 2: Access Hostinger hPanel
After logging into your Hostinger account, you’ll be directed to hPanel, which is their custom control panel.
This is where you’ll manage:
- Domains
- Hosting settings
- WordPress installations
- Databases and files
Compared to traditional panels like cPanel, hPanel is more intuitive and designed for beginners.
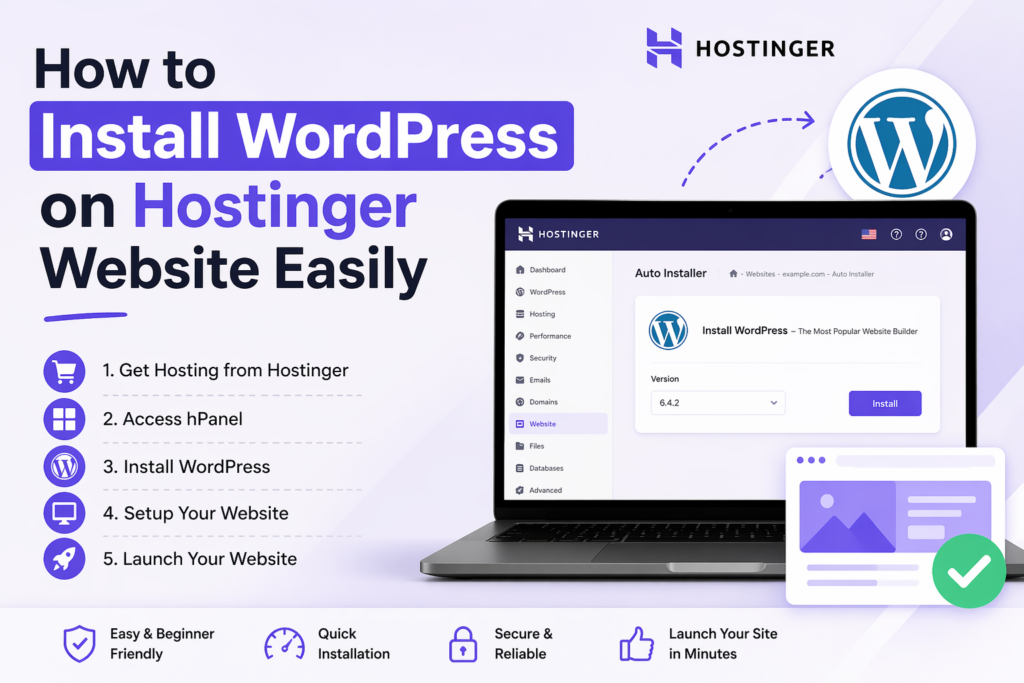
Step 3: Use One-Click WordPress Installation
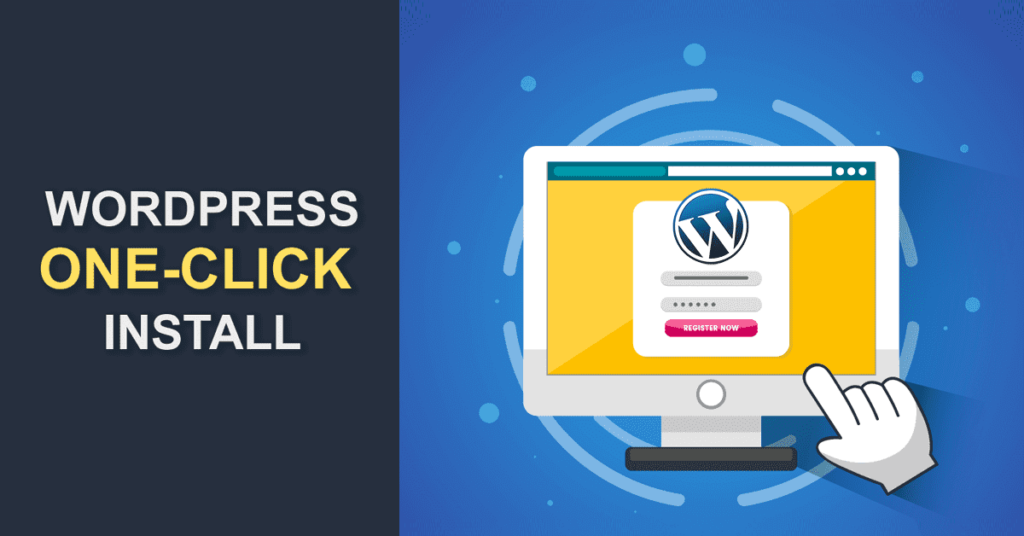
The easiest way to install WordPress on Hostinger is through their built-in auto-installer.
Navigate to Auto Installer
Inside hPanel:
- Go to Websites
- Click Manage next to your domain
- Find Auto Installer
- Select WordPress
Fill in Installation Details
You’ll be asked to enter:
- Website title (your site name)
- Administrator email
- Username and password
- Language
Make sure to use a strong password and a valid email address, as these will be used to access your WordPress dashboard.
Select Advanced Options (Optional)
Some setups allow you to:
- Choose a WordPress version
- Enable automatic updates
- Install recommended plugins
For most users, default settings work perfectly.
Complete Installation
Click Install, and within seconds, WordPress will be installed on your domain.
Step 4: Access Your WordPress Dashboard
Once installation is complete, you can log into your WordPress admin panel.
Login URL
Your login page is typically:
yourdomain.com/wp-admin
Enter your username and password to access the dashboard.
What You’ll See
The WordPress dashboard includes:
- Posts and pages management
- Theme customization
- Plugin installation
- Settings and configurations
This is the control center of your website.
Step 5: Configure Basic WordPress Settings
After installing WordPress on Hostinger, it’s important to configure essential settings.
General Settings
Go to Settings → General:
- Update your site title and tagline
- Set your timezone
- Ensure your email is correct
Permalink Structure
Go to Settings → Permalinks and choose:
- Post name structure
This improves SEO and makes URLs cleaner.
Discussion Settings
You can control comments, moderation, and notifications under:
- Settings → Discussion
Adjust based on whether you want user interaction on your site.
Step 6: Install a Theme
Themes control the visual appearance of your website.
How to Install a Theme
- Go to Appearance → Themes
- Click Add New
- Browse or search for a theme
- Click Install → Activate
Choosing the Right Theme
Look for:
- Mobile responsiveness
- Fast loading speed
- Customization options
Popular themes include lightweight and multipurpose designs suitable for business or eCommerce.
Step 7: Install Essential Plugins
Plugins add functionality to your WordPress site.
Must-Have Plugins
After installing WordPress on Hostinger, consider adding:
- SEO plugin (for search engine optimization)
- Security plugin (to protect your site)
- Caching plugin (to improve speed)
- Backup plugin (to prevent data loss)
How to Install Plugins
- Go to Plugins → Add New
- Search for a plugin
- Click Install → Activate
Avoid installing too many plugins, as it can affect performance.
Step 8: Secure Your Website
Security is often overlooked but critical.
Basic Security Steps
- Use strong passwords
- Change default login username
- Enable SSL (HTTPS)
- Install a security plugin
Hostinger usually provides a free SSL certificate, which you can activate from hPanel.
Step 9: Optimize Performance
A fast website improves user experience and SEO.
Speed Optimization Tips
- Use a caching plugin
- Compress images
- Choose a lightweight theme
- Enable CDN (Content Delivery Network)
Hostinger’s infrastructure already helps with performance, but these steps enhance it further.
Step 10: Create Your First Pages
Now that WordPress is installed, it’s time to build your site.
Essential Pages
Most websites include:
- Home page
- About page
- Services or Products page
- Contact page
Creating a Page
- Go to Pages → Add New
- Add title and content
- Click Publish
You can also use page builders for visual editing if you prefer a drag-and-drop experience.
Step 11: Connect Domain and Check Live Site
If your domain is purchased through Hostinger, it’s already connected. If not, you may need to update DNS settings.
Test Your Website
Visit your domain in a browser and confirm:
- Pages load correctly
- Images display properly
- Links work
This ensures your WordPress installation is functioning as expected.
Common Issues and Solutions
Even though installing WordPress on Hostinger is straightforward, you might encounter some minor issues.
1. Can’t Access WordPress Admin
- Check your login URL
- Reset your password if needed
2. Website Not Loading
- Verify domain connection
- Clear browser cache
- Check hosting status
3. Slow Website Speed
- Optimize images
- Reduce plugins
- Enable caching
Manual Installation (Advanced Option)
While one-click installation is recommended, advanced users may prefer manual setup.
Steps Overview
- Download WordPress from the official site
- Upload files via File Manager or FTP
- Create a database in hPanel
- Configure wp-config.php
- Run installation script
This method gives more control but requires technical knowledge.
Why Learning This Process Matters
Understanding how to install WordPress on Hostinger website is more than just a setup task—it’s a foundational skill.
It allows you to:
- Launch projects independently
- Reduce reliance on developers
- Customize websites freely
- Scale your business online
For anyone working in web design, eCommerce, or digital marketing, this knowledge is essential.
Conclusion
Installing WordPress on Hostinger is a straightforward process when broken down into clear steps. By choosing the right hosting plan, using the one-click installer, and configuring essential settings, you can launch a fully functional website in minutes.
From there, your focus shifts to design, content, and optimization. With the right setup, WordPress becomes a powerful platform that supports long-term growth, flexibility, and performance.
FAQ
Installing WordPress on Hostinger usually takes less than 5 minutes using the one-click auto installer in hPanel.
No, Hostinger’s one-click installation makes it beginner-friendly. You don’t need coding or technical experience to get started.
Yes, WordPress itself is free. However, you need to pay for hosting and a domain, which Hostinger provides.
You can install WordPress using a temporary domain, but it’s recommended to connect your own domain for a professional website.
hPanel is Hostinger’s custom control panel where you can manage your hosting, install WordPress, and control website settings.
Yes, you can reinstall WordPress anytime through hPanel or reset your site using backup or reinstall options.

Design and build a WordPress website or corporate site with a full eCommerce system for you.
Price range: $200.00 through $2,500.00custom-requirements-or-special-quotations
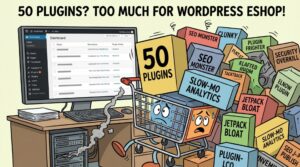
Original price was: $2.00.$1.00Current price is: $1.00. Are 50 Plugins Too Many for a WordPress eCommerce Store?
Understanding the Real Performance Impact Having 50 plugins on a WordPress eCommerce site isn’t automatically a problem. In fact, the number alone rarely determines performance....

Main Image Design for Amazon Home Physiotherapy Device Explained
Introduction: Building a Trustworthy Image for Home Therapy Devices on Amazon When designing the main image for a home therapy device on Amazon, our primary...

Main Image Design for Amazon Lipstick Conversion
Introduction: Designing a Lipstick Main Image That Sells on Amazon When we design a Main image for an Amazon lipstick, our responsibility goes far beyond...

How Hackers Steal WordPress Admin Emails (And How to Stop Them)
Let’s start with an uncomfortable truth: Your WordPress admin email is probably way more public than you think.And hackers? They love that. To them, your...

What Makes an Amazon Liquid Foundation Main Image Convert
Introduction Designing a Main image design for Amazon Liquid foundation is never just about making a product look beautiful. On Amazon, the main image and...
Designing an Effective Amazon Main Image for Filter Cartridges
Introduction Designing a Main image for Amazon is never just about making a product look attractive. It is about clarity, trust, and instant understanding—especially for...
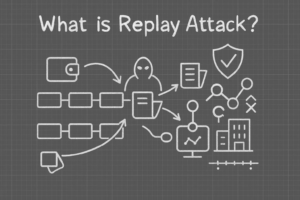
Replay Attacks on WordPress: Real Threat or Overhyped Myth?
Let’s clear something up first. Replay attacks don’t look scary.They don’t smash passwords.They don’t inject evil code with green hacker text flying everywhere. They’re sneaky....

How to Duplicate WordPress Pages Without Breaking Anything
Let’s face it. Sometimes you don’t want to create a new page.You just want the same page… but slightly different. Same layout.Same blocks.Same settings. Because...

Five Pet WordPress Themes Compared
Introduction Choosing the right pet-related WordPress theme is more than a design decision—it directly affects usability, scalability, and long-term business growth. Pet care and pet...

Comparing Five Swimwear eCommerce Themes
Introduction Choosing the right theme for a swimwear or lingerie independent store is not just a visual decision—it directly affects conversion rates, scalability, and long-term...

How to Turn Off Comments in WordPress (Without Losing Your Mind)
Let’s talk about WordPress comments. In theory, comments are great.They encourage discussion.They build community.They make your website feel “alive.” In reality? They’re often a magnet...

WordPress 500 Error: When Your Website Decides to Panic
Your WordPress site was fine a minute ago.You refreshed the page.And suddenly—boom 💥—500 Internal Server Error. No explanation.No apology.Just a cold, confusing message that basically...

Building a Scalable WordPress Website for a Science-Driven Brand: The AminoUSA Project
Introduction In today’s digital landscape, a website is more than a place to list products. For science-driven brands operating in regulated or research-focused industries, a...

Building a Scalable Shopify Store for a Global Blade Brand: The CoolKatana Project
Introduction In cross-border eCommerce, a Shopify website is more than a storefront.For brands operating in niche, culture-driven categories, the website must do far more than...
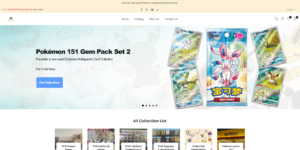
Designing a High-Conversion Shopify Store for Pokémon Cards
Introduction In the world of collectible eCommerce, especially within the Pokémon Trading Card Game (TCG) market, a website must do more than simply list products....
High-Converting Shopify Design for a Custom Brick Brand
Introduction In today’s competitive eCommerce landscape, especially in the personalized gift and collectible space, a Shopify website must do far more than display products. It...

How to Contact Shopify Support: Simple, Stress-Free Guide
Running a Shopify store should feel exciting—not confusing. When questions pop up or issues slow you down, Shopify offers several support paths depending on what...
How to Deactivate a Shopify Store: A Clear, Practical Guide
Deactivating a Shopify store isn’t complicated, but it does come with consequences many merchants overlook. This guide breaks the process down in a simple, educational...