












Introduction
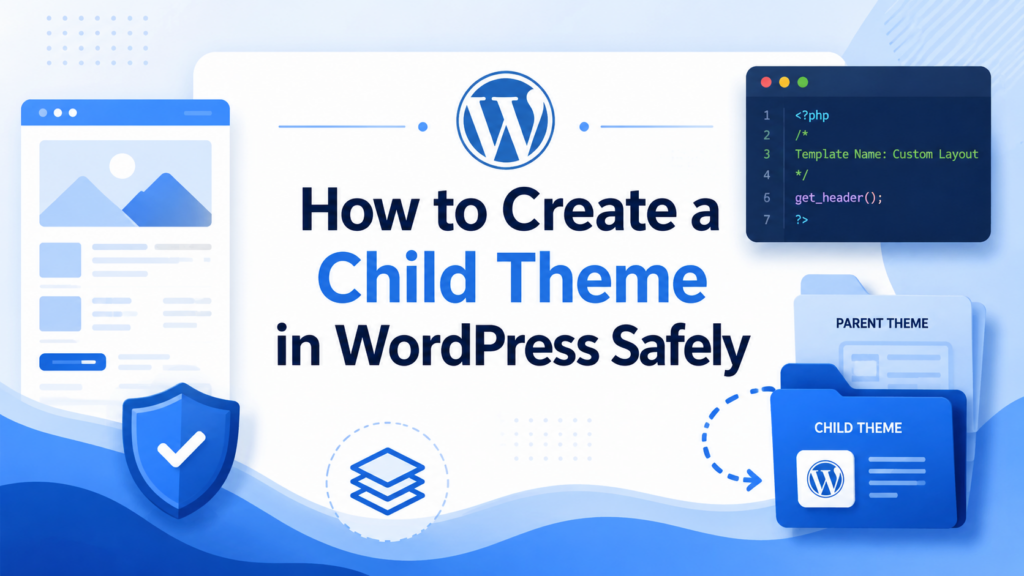
Learning how to create child theme in WordPress is one of the smartest steps you can take before customizing your website. Many beginners start by editing their active WordPress theme directly. At first, this may seem quick and harmless. You change a color, adjust a button, edit a layout file, or add a small piece of code. Everything looks fine until the theme receives an update. Then the changes disappear.
That problem happens because WordPress themes are often updated to fix bugs, improve security, add features, or stay compatible with the latest version of WordPress. When you edit a parent theme directly, those updates can overwrite your custom work. A child theme helps prevent that issue by creating a separate space for your changes.
A WordPress child theme inherits the design, layout, and features of its parent theme while allowing you to add your own custom styles, template changes, and small function edits separately. The official WordPress Theme Handbook describes child themes as extensions of parent themes that let users modify a theme without editing the parent theme’s code directly.
In simple terms, a child theme protects your customizations. It gives you more freedom to personalize your WordPress site while keeping the original theme clean and update-friendly. This guide explains what a child theme is, why it matters, what you need before creating one, and how to set it up step by step.
What Is a Child Theme in WordPress?
A child theme is a secondary theme that depends on another theme, called the parent theme. The parent theme provides the main structure, design, templates, and features. The child theme adds your own changes on top of that foundation.
Think of the parent theme as the base of a house. It controls the main walls, rooms, wiring, and structure. The child theme is like your personal decoration layer. You can repaint walls, change furniture, or adjust certain details without rebuilding the entire house.
In WordPress, this means your child theme can inherit almost everything from the parent theme. It can use the same design, same templates, same layout logic, and same functionality. However, when you place a custom file inside the child theme, WordPress can use that file instead of the parent theme’s version.
For example, if you want to change the header layout, you may copy the header template from the parent theme into the child theme and edit it there. WordPress will read the child theme’s version first. If the file does not exist in the child theme, WordPress will use the parent theme’s original file.
This is why child themes are so useful. They allow you to customize only the parts you want to change while still relying on the parent theme for everything else.
Why You Should Use a Child Theme
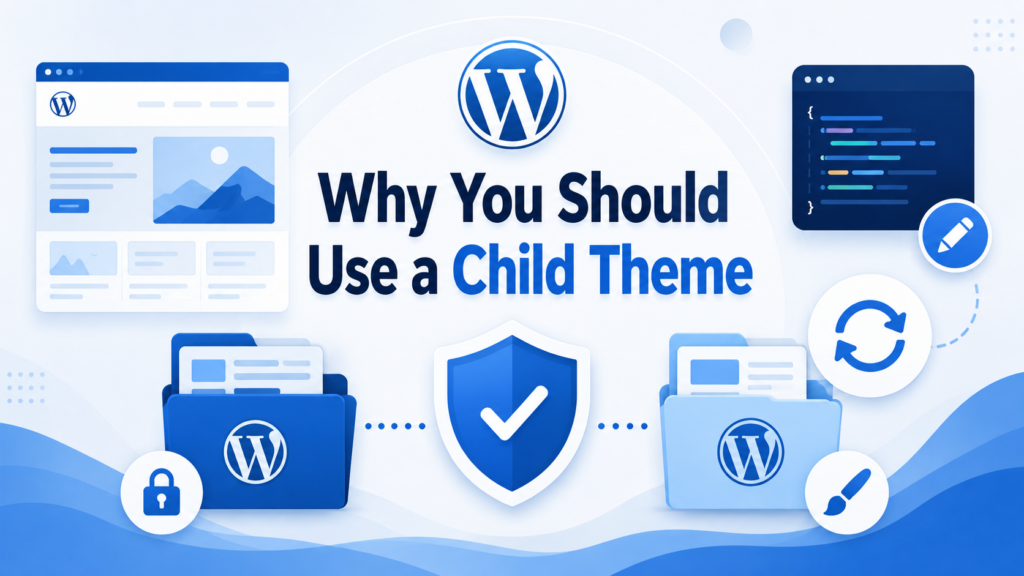
The biggest reason to use a child theme is update protection. If you edit the parent theme directly, your custom changes may be removed the next time the theme updates. Since theme updates are important for security, compatibility, and performance, avoiding updates is not a good long-term solution.
A child theme solves this problem by separating your changes from the parent theme. When the parent theme updates, your child theme files stay in place. This lets you keep your custom design work while still receiving important updates from the parent theme.
A child theme also makes your website easier to manage. Instead of searching through many parent theme files, you can keep your custom work in one small folder. This makes future edits easier to find, review, and update.
Another benefit is safer experimentation. If you want to test new CSS, adjust spacing, change typography, or modify a template file, a child theme gives you a controlled place to do it. If something goes wrong, the parent theme remains untouched.
Child themes are especially useful when you plan to make changes such as:
Custom CSS adjustments
Font, color, spacing, or button style changes
Header or footer layout edits
Template file overrides
Small PHP function additions
WooCommerce layout modifications
Custom archive or single post templates
However, a child theme is not always necessary for every small edit. If you only need to change basic settings through the WordPress Customizer, Site Editor, or theme options panel, you may not need one. But when you plan to edit theme files or add custom code, a child theme is usually the safer choice.
What You Need Before Creating a Child Theme
Before creating a child theme, prepare a few basic things. You do not need to be an advanced developer, but you should be careful because theme files affect how your website appears and functions.
First, create a backup of your website. Even a small mistake in a PHP file can cause errors. A backup gives you a safe way to restore your site if something goes wrong.
Second, make sure you have access to your WordPress admin dashboard. You will need the dashboard to activate the child theme after creating it.
Third, use a code editor. A simple editor such as Visual Studio Code, Sublime Text, or Notepad++ can help you create clean files without formatting problems. Avoid using word processors like Microsoft Word because they may add hidden formatting that can break code.
Fourth, know your parent theme’s folder name. This is very important because the child theme must reference the parent theme correctly. You can usually find the folder name inside /wp-content/themes/.
Finally, consider working on a staging site instead of your live website. A staging site is a private copy of your website where you can test changes before applying them publicly.
How to Create Child Theme in WordPress Step by Step
Now let’s walk through the manual process. This method gives you a clear understanding of how child themes work.
Step 1: Open the WordPress Themes Folder
To create a child theme manually, access your website files through FTP, your hosting file manager, or a local development environment.
Go to this directory:
/wp-content/themes/
Inside this folder, you will see folders for the themes installed on your WordPress site. For example, if your active theme is Twenty Twenty-Four, you may see a folder named:
twentytwentyfour
That folder is your parent theme.
Step 2: Create a Child Theme Folder
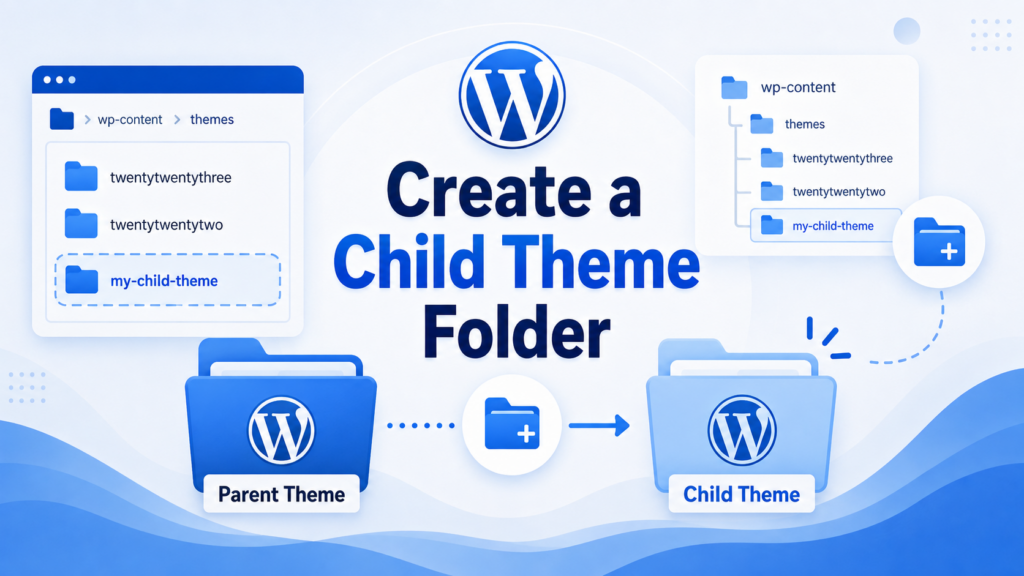
Create a new folder inside /wp-content/themes/. A common naming style is to use the parent theme’s folder name and add -child at the end.
For example:
twentytwentyfour-child
This folder will hold your child theme files. Keep the name simple, lowercase, and easy to recognize. The folder name itself does not have to be fancy. It just needs to be clear and organized.
Step 3: Create the style.css File
Inside your new child theme folder, create a file named:
style.css
This file does two things. First, it tells WordPress that this folder is a theme. Second, it identifies which parent theme the child theme should inherit from.
Add this basic header to the top of the file:
/*
Theme Name: Twenty Twenty-Four Child
Theme URI: https://example.com/
Description: A child theme for the Twenty Twenty-Four theme.
Author: Your Name
Template: twentytwentyfour
Version: 1.0.0
*/
The most important line is:
Template: twentytwentyfour
This must match the parent theme’s folder name exactly. If the parent folder is named twentytwentyfour, the template value must also be twentytwentyfour.
If this line is wrong, WordPress may not connect the child theme to the parent theme.
Below the header, you can later add your custom CSS. For example:
body {
  font-size: 16px;
}
Step 4: Create the functions.php File
Next, create another file inside the child theme folder and name it:
functions.php
This file is used to load styles and add custom functions. In most child themes, you use it to load the parent theme stylesheet and the child theme stylesheet.
Add this code:
<?php
function my_child_theme_enqueue_styles() {
    wp_enqueue_style(
        'parent-style',
        get_template_directory_uri() . '/style.css'
    );

    wp_enqueue_style(
        'child-style',
        get_stylesheet_directory_uri() . '/style.css',
        array('parent-style')
    );
}
add_action('wp_enqueue_scripts', 'my_child_theme_enqueue_styles');
This code tells WordPress to load the parent theme’s stylesheet first, then load the child theme’s stylesheet after it. Loading the child stylesheet after the parent stylesheet allows your custom CSS to override parent theme styles when needed.
WordPress recommends enqueueing styles properly rather than relying on older methods like importing styles inside CSS.
Step 5: Add a Screenshot Image
This step is optional, but it makes your child theme look more polished in the WordPress dashboard.
You can add an image named:
screenshot.png
Place it inside the child theme folder. WordPress will show this image in the Appearance → Themes area. The image should usually be a preview of the theme design or a simple branded placeholder.
If you skip this step, the child theme can still work normally.
Step 6: Activate the Child Theme
Now go to your WordPress dashboard.
Navigate to:
Appearance → Themes
You should see your new child theme listed there. Click Activate.
After activation, visit your website and check the design. At first, the site should look almost exactly like the parent theme. That is a good sign because it means the child theme is inheriting the parent theme correctly.
How to Test Your Child Theme
After activating the child theme, test it carefully.
Start by checking the homepage, blog page, product pages, menus, footer, and any important landing pages. Make sure the layout still looks correct.
Then test a small CSS change. Open your child theme’s style.css file and add a simple style, such as:
body {
  background-color: #f7f7f7;
}
Save the file and refresh your website. If the background color changes, your child theme stylesheet is working.
If nothing changes, clear your browser cache and website cache. If the change still does not appear, review your functions.php file and make sure the child stylesheet is being loaded correctly.
You should also inspect the website on desktop and mobile. Sometimes a small CSS change looks fine on a large screen but creates spacing issues on smaller devices.
How to Customize a WordPress Child Theme
Once your child theme works, you can start using it for real customizations.
The easiest place to begin is CSS. You can adjust colors, fonts, margins, padding, button styles, menu spacing, link hover effects, and other visual details.
For example:
.site-title {
  letter-spacing: 1px;
  text-transform: uppercase;
}
You can also override template files. To do this, copy a template file from the parent theme and place it in the same relative location inside the child theme.
For example, if the parent theme has:
header.php
You can copy it into the child theme folder and edit the child version. WordPress will use the child theme’s header.php file instead of the parent version.
This is useful when you need to change structure, not just styling.
You can also add custom PHP snippets to the child theme’s functions.php file. However, be careful. A missing symbol or incorrect function can cause a site error. Always test PHP changes on a staging site when possible.
Child Themes and Block Themes
Modern WordPress block themes work a little differently from older classic themes. Block themes often use theme.json, HTML templates, template parts, and the Site Editor. Because of this, some customizations can be done visually without editing PHP files.
For block themes, you may still create a child theme, but the setup may include files such as:
style.cssfunctions.phptheme.jsontemplates/parts/
The theme.json file can control design settings such as colors, typography, spacing, and layout options. This makes block themes more flexible for users who prefer visual editing.
WordPress also offers tools such as the Create Block Theme plugin, which can help generate block-based themes and child themes. This can be useful if you want to work with the Site Editor instead of creating every file manually.
Common Mistakes to Avoid
One common mistake is writing the wrong parent theme folder name in the Template line. Remember, this value must match the parent folder name exactly.
Another mistake is forgetting to create the functions.php file or loading styles incorrectly. If the child theme activates but the site looks broken, the parent stylesheet may not be loading.
Some beginners also keep editing the parent theme after creating the child theme. This defeats the purpose of having a child theme. Once the child theme is active, place your custom work inside the child theme folder.
Another issue is copying too many files. You do not need to copy the entire parent theme. Only copy the files you actually want to customize. Keeping the child theme small makes it easier to manage.
Skipping backups is also risky. Even if you are only making a small edit, always keep a recent backup before changing theme files.
Finally, do not delete the parent theme. A child theme depends on the parent theme. If you remove the parent theme, the child theme will not work correctly.
Do You Need a Plugin to Create a Child Theme?
You can create a child theme manually, but plugins can make the process easier. A child theme generator plugin can create the folder, style.css, and basic setup files for you.
This may be helpful if you are uncomfortable working with FTP or file managers. However, even if you use a plugin, it is still useful to understand how the child theme works behind the scenes.
Manual creation gives you more control. Plugin creation gives you convenience. Both methods can work, as long as the final child theme is set up correctly.
When Should You Ask for Professional Help?
You can usually create a basic child theme yourself if your goal is simple CSS customization. Changing colors, spacing, fonts, and basic visual styles is manageable for many WordPress users.
However, you may want help if your changes involve advanced PHP, WooCommerce templates, custom post types, complex layouts, or multiple template overrides. These changes can affect site performance, design consistency, and user experience.
Professional help may also be useful if your website is already live, receives traffic, or supports online sales. In those cases, mistakes can create real business problems, so a careful setup matters more.
Conclusion
Learning how to create child theme in WordPress helps you customize your website in a safer and more organized way. Instead of editing the parent theme directly, you create a separate child theme that inherits the parent design while storing your custom changes independently.
A basic child theme usually needs a folder, a style.css file, and a functions.php file. After activating it in the WordPress dashboard, you can test small CSS changes, override template files, and add custom functions without touching the parent theme.
The main benefit is protection. Parent theme updates can improve security and compatibility, but they can also overwrite direct edits. A child theme keeps your work separate, easier to manage, and safer for long-term website maintenance. For anyone who wants more control over a WordPress design, creating a child theme is a practical first step.
FAQ
1. What is a child theme in WordPress?
A child theme is a WordPress theme that inherits the design and functions of another theme, called the parent theme. It lets you customize your website without editing the original theme files directly.
2. Why should I create a child theme in WordPress?
You should create a child theme because it protects your custom changes when the parent theme updates. If you edit the parent theme directly, your changes may be overwritten during an update.
3. Is a child theme necessary for every WordPress website?
No. A child theme is not always necessary if you only use built-in theme settings, the WordPress Customizer, or the Site Editor. However, it is highly recommended when you plan to edit theme files, add custom CSS, or modify functions.
4. What files do I need to create a WordPress child theme?
A basic WordPress child theme usually needs two main files: style.css and functions.php. The style.css file identifies the child theme, while the functions.php file helps load the parent and child theme styles properly.
5. Can I create a child theme without coding?
Yes. You can use a child theme generator plugin to create one without manually writing code. However, understanding the basic structure helps you manage future changes more safely.
6. Will a child theme slow down my WordPress website?
A properly created child theme usually does not slow down your website. It simply loads the parent theme and your custom changes. Performance issues are more likely caused by heavy plugins, large images, poor hosting, or unoptimized code.


Design and build a WordPress website or corporate site with a full eCommerce system for you.
Price range: $200.00 through $2,500.00custom-requirements-or-special-quotations
Original price was: $2.00.$1.00Current price is: $1.00. Are 50 Plugins Too Many for a WordPress eCommerce Store?
Understanding the Real Performance Impact Having 50 plugins on a WordPress eCommerce site isn’t automatically a problem. In fact, the number alone rarely determines performance....

Main Image Design for Amazon Home Physiotherapy Device Explained
Introduction: Building a Trustworthy Image for Home Therapy Devices on Amazon When designing the main image for a home therapy device on Amazon, our primary...

Main Image Design for Amazon Lipstick Conversion
Introduction: Designing a Lipstick Main Image That Sells on Amazon When we design a Main image for an Amazon lipstick, our responsibility goes far beyond...

How Hackers Steal WordPress Admin Emails (And How to Stop Them)
Let’s start with an uncomfortable truth: Your WordPress admin email is probably way more public than you think.And hackers? They love that. To them, your...

What Makes an Amazon Liquid Foundation Main Image Convert
Introduction Designing a Main image design for Amazon Liquid foundation is never just about making a product look beautiful. On Amazon, the main image and...

Designing an Effective Amazon Main Image for Filter Cartridges
Introduction Designing a Main image for Amazon is never just about making a product look attractive. It is about clarity, trust, and instant understanding—especially for...
Replay Attacks on WordPress: Real Threat or Overhyped Myth?
Let’s clear something up first. Replay attacks don’t look scary.They don’t smash passwords.They don’t inject evil code with green hacker text flying everywhere. They’re sneaky....
How to Duplicate WordPress Pages Without Breaking Anything
Let’s face it. Sometimes you don’t want to create a new page.You just want the same page… but slightly different. Same layout.Same blocks.Same settings. Because...

Five Pet WordPress Themes Compared
Introduction Choosing the right pet-related WordPress theme is more than a design decision—it directly affects usability, scalability, and long-term business growth. Pet care and pet...
Comparing Five Swimwear eCommerce Themes
Introduction Choosing the right theme for a swimwear or lingerie independent store is not just a visual decision—it directly affects conversion rates, scalability, and long-term...
How to Turn Off Comments in WordPress (Without Losing Your Mind)
Let’s talk about WordPress comments. In theory, comments are great.They encourage discussion.They build community.They make your website feel “alive.” In reality? They’re often a magnet...

WordPress 500 Error: When Your Website Decides to Panic
Your WordPress site was fine a minute ago.You refreshed the page.And suddenly—boom 💥—500 Internal Server Error. No explanation.No apology.Just a cold, confusing message that basically...

Building a Scalable WordPress Website for a Science-Driven Brand: The AminoUSA Project
Introduction In today’s digital landscape, a website is more than a place to list products. For science-driven brands operating in regulated or research-focused industries, a...

Building a Scalable Shopify Store for a Global Blade Brand: The CoolKatana Project
Introduction In cross-border eCommerce, a Shopify website is more than a storefront.For brands operating in niche, culture-driven categories, the website must do far more than...
Designing a High-Conversion Shopify Store for Pokémon Cards
Introduction In the world of collectible eCommerce, especially within the Pokémon Trading Card Game (TCG) market, a website must do more than simply list products....
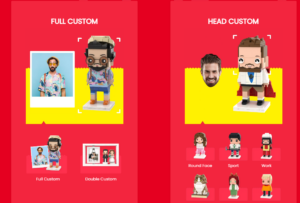
High-Converting Shopify Design for a Custom Brick Brand
Introduction In today’s competitive eCommerce landscape, especially in the personalized gift and collectible space, a Shopify website must do far more than display products. It...

How to Contact Shopify Support: Simple, Stress-Free Guide
Running a Shopify store should feel exciting—not confusing. When questions pop up or issues slow you down, Shopify offers several support paths depending on what...
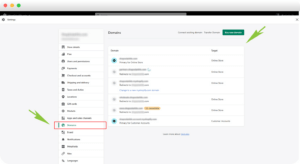
How to Deactivate a Shopify Store: A Clear, Practical Guide
Deactivating a Shopify store isn’t complicated, but it does come with consequences many merchants overlook. This guide breaks the process down in a simple, educational...