










No products in the cart.

The footer may sit at the bottom of a WordPress website, but it plays a much larger role than its position suggests. It often appears across the entire site and gives visitors one final place to find important links, contact information, legal pages, social profiles, and other useful resources.
That leads many website owners to ask: how do you edit the footer in WordPress? The answer depends on the type of theme and editing system your site uses. A block theme usually lets you change the footer through the Site Editor, while a classic theme may rely on the Customizer, widget areas, theme settings, or a page builder.
This guide explains the main footer-editing methods in practical terms. It also covers what belongs in a footer, how to avoid common mistakes, and what to check when your changes do not appear.
A WordPress footer is the section displayed below the main content of a page. In many themes, it is a global element, meaning the same footer appears on the homepage, posts, product pages, and other sections.
A footer commonly contains copyright text, a secondary menu, privacy and terms links, contact details, social icons, a logo, a short brand description, newsletter forms, business hours, or payment and certification symbols.
WordPress does not require every site to use the same footer structure. The available controls come from the active theme, WordPress editing mode, and installed design plugins. That is why two WordPress dashboards may show very different footer options.
A default footer may contain generic text, unused columns, placeholder links, or a theme credit that does not fit your website. Editing it helps the site feel complete and intentional.
A useful footer improves navigation by giving visitors another route to important pages. Someone who reaches the end of a long article may not want to scroll back to the header. A footer menu lets that person continue to a service page, support center, product category, or contact form.
The footer also supports trust. Clearly displayed contact information, legal pages, return policies, and social links make it easier for visitors to understand who operates the website. Footer links can also clarify site structure for visitors and search engines, although a focused footer is more useful than a crowded list of every page.
Before changing anything, determine whether your site uses a block theme, classic theme, or page builder.
Go to Appearance in the WordPress dashboard.
If you see Appearance > Editor, your site probably uses a block theme and supports Full Site Editing. WordPress uses template parts for repeated global areas such as headers and footers, so editing a footer template part can update every template that includes it.
If you see Appearance > Customize, the theme likely uses the classic Customizer, which allows supported themes to preview changes before publishing them.
If you see Appearance > Widgets, your theme may provide footer widget areas. WordPress widget areas are defined by the theme and are often placed in sidebars or footers.
You may also have a separate page-builder or theme menu labeled Theme Builder, Templates, Footer Builder, Layouts, or Theme Options.
For modern block themes, the Site Editor is usually the most direct answer to “how do you edit the footer in WordPress?”
Go to Appearance > Editor. The exact interface can vary slightly by WordPress version and theme.
Open Patterns, look for Template Parts, and select the footer. Current WordPress documentation places template-part management inside the Patterns area.
Some themes also let you select a page preview and click the footer directly.
The footer may be built with Group, Columns, Navigation, Paragraph, Site Logo, Social Icons, Buttons, and other blocks.
Click a block to change its content. Use the settings panel to adjust typography, spacing, color, alignment, and width. You can replace the logo, update copyright text, add menu links, insert social icons, create columns, add a button, or change the background.
Open List View when the footer contains several nested blocks. It shows the structure clearly and helps you select the correct Group or Column.
Click Save and confirm that the footer template part is included. Because the footer is reusable, the update may appear across all templates that contain it. Preview several page types after saving.
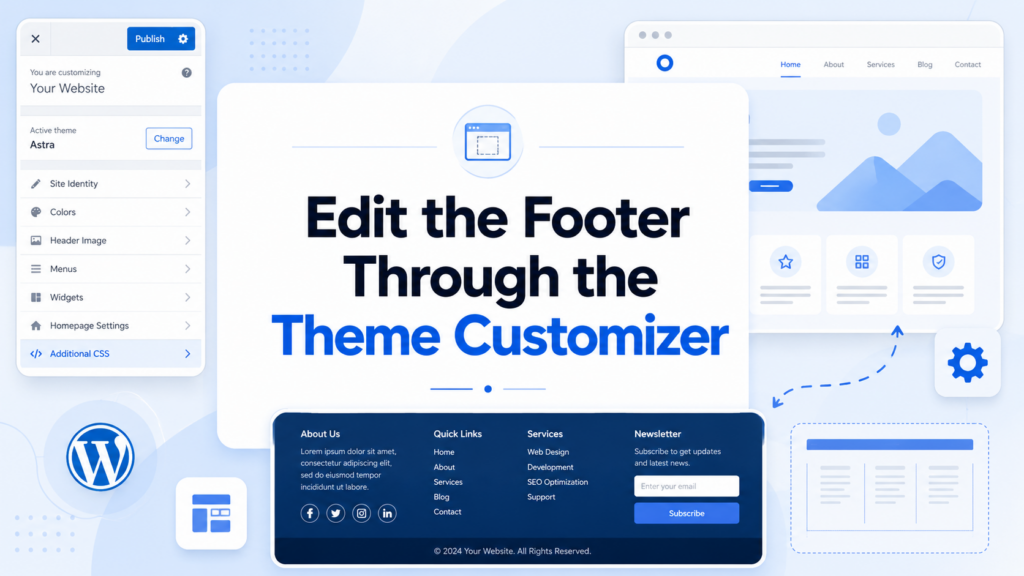
Classic themes often place footer settings inside:
Appearance > Customize
Look for sections labeled Footer, Footer Builder, Layout, Widgets, Theme Options, Copyright, Menus, or Additional CSS.
The available controls depend on the theme. One theme may provide a drag-and-drop builder, while another may only offer a copyright field. You may be able to change the background, text color, columns, spacing, logo, menu, and credit line.
Use the live preview, then click Publish. If no footer controls appear, the footer may be managed through widgets, a separate theme panel, or a template file.
Many classic themes divide the footer into areas such as Footer 1, Footer 2, Footer 3, and Footer 4.
Go to Appearance > Widgets, find the footer area, and open it. Depending on your setup, you may see classic widgets or block-based controls.
Useful footer widgets and blocks include Navigation Menu, Paragraph, Heading, Image, Custom HTML, Latest Posts, Search, Categories, Social Icons, Shortcode, and form blocks added by plugins.
Add the content you need, remove unused items, and arrange everything in a logical order. If no footer area appears, the theme may not support footer widgets or may use another building system.
Some sites use Elementor, Divi, Beaver Builder, Bricks, or another visual builder. In that case, the normal WordPress footer settings may not control the live design.
Look for a builder area such as Templates > Theme Builder, then open the active footer template. Edit it visually and check its display conditions before saving. Display conditions control whether the footer appears on the entire site or only on selected pages, posts, products, or landing pages.
If two footers appear, the theme footer and page-builder footer may both be active. Disable one of them or correct the template conditions.
A footer menu is often managed separately from the footer layout.
For a classic theme, go to Appearance > Menus, create or select a menu, and assign it to the footer location.
For a block theme, open the footer in the Site Editor and select the Navigation block. Edit, remove, or reorder the links there.
Useful footer links include About, Contact, Support, Privacy Policy, Terms, Shipping, Returns, Accessibility, and major service or product categories. Keep labels short and specific. “Shipping & Returns” is more helpful than a vague label such as “Learn More.”
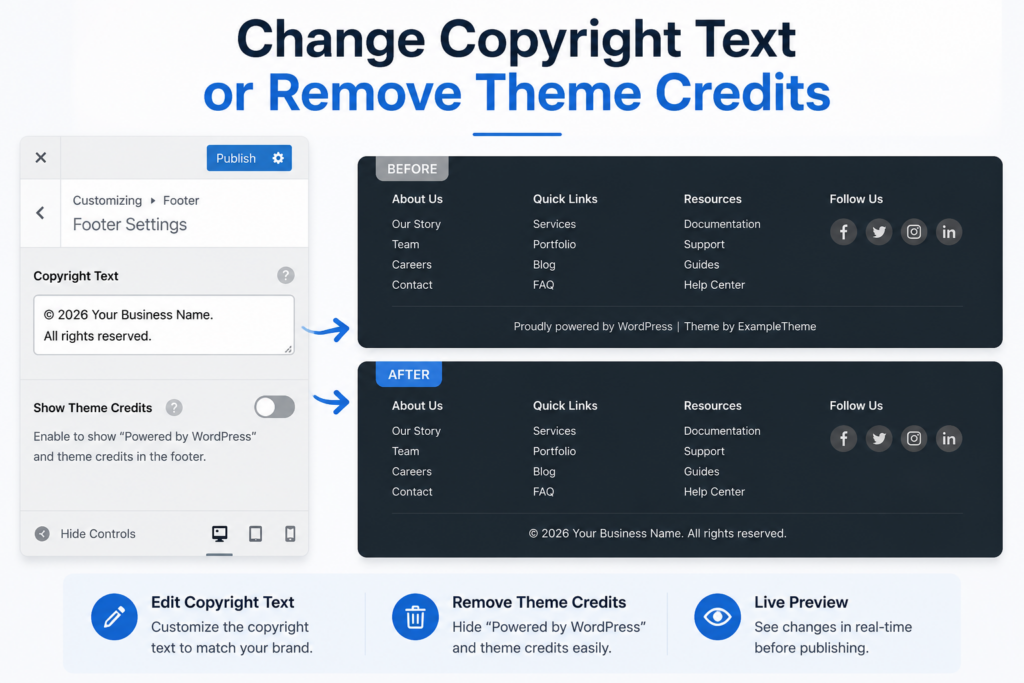
To replace “Powered by WordPress,” update an old year, or change a theme credit, check these areas first:
Replace the text with a simple notice such as:
© 2026 Example Company. All rights reserved.
Some themes and builders support a dynamic year that updates automatically.
Do not edit theme files immediately. A visual setting is safer and less likely to be overwritten. Also review the theme license before removing attribution that may be required.
When the content is correct but the appearance needs adjustment, custom CSS may help.
In a classic theme, go to Appearance > Customize > Additional CSS. In a block theme, use Site Editor style controls first. Additional CSS may also be available through the theme or a plugin.
Inspect the footer with your browser’s developer tools to identify the correct class. Theme markup varies, so selectors copied from another site may not work.
CSS can adjust background colors, text colors, link hover states, padding, column gaps, font sizes, borders, and mobile alignment. Test every change on desktop, tablet, and phone.
Some classic themes store footer markup in footer.php. Direct file editing is advanced and should be a last resort.
Editing a parent theme creates two risks: a coding mistake can break the layout, and a theme update can overwrite the change. WordPress documentation also notes that direct theme-file modifications may be lost after updates.
If file editing is necessary, back up the site, use staging when possible, create a child theme, copy the relevant template into it, and make one change at a time. Check for PHP and HTML errors after each update.
Do not paste unknown scripts into footer.php. Analytics and verification code are often better added through a trusted integration, dedicated plugin, or theme-supported code field.
A good footer is useful without becoming a second homepage.
Choose information based on the website’s purpose. A service business may need contact details, service categories, location, and a consultation link. An online store may need shipping, returns, order tracking, support, and payment information. A blog may need categories, an author introduction, recent posts, and a newsletter form.
Most effective footers include three layers:
Navigation: Important pages and support links.
Trust: Contact information, policies, business details, and relevant credentials.
Brand continuity: A logo, short message, colors, and typography that match the rest of the website.
Avoid filling every column. White space improves readability and helps visitors identify the most important information.
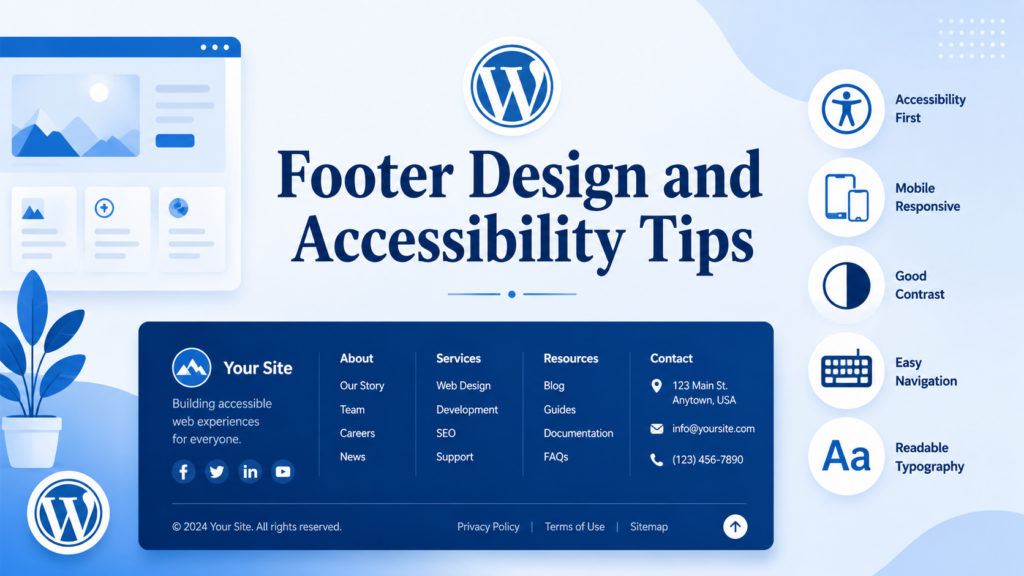
Use readable type and strong contrast between text and background. Small gray text on a dark background may look elegant but can be difficult to read.
Make links recognizable and provide visible hover and keyboard-focus states. Use descriptive link text instead of repeated phrases such as “Click Here.” Social icons and buttons should be large enough to tap comfortably on a phone.
On mobile, multi-column footers usually stack vertically. Check the order carefully so contact details, primary navigation, and legal links remain easy to find.
Test newsletter forms, buttons, dropdowns, and accordion sections. Interactive footer elements should not be cut off, overlap, or require precise tapping.
Clear your caching plugin, hosting cache, content delivery network cache, and browser cache. Reload the page in a private browser window.
A theme may contain multiple footer templates. A builder may assign different footers to different page types. Review template names and display conditions.
Landing pages and special templates may disable the normal footer. Review the page template and builder settings.
Menus, widgets, templates, and Customizer settings may each require separate saving.
An element may be hidden on desktop, tablet, or mobile through responsive controls.
On a staging site, temporarily deactivate recently added design, optimization, or caching plugins to identify a conflict.
If the layout breaks, use revisions, restore a backup, or undo the latest code change.
Use the Site Editor for a block theme, the Customizer or Widgets screen for many classic themes, or the global footer template in a page builder.
The footer may be controlled by the Site Editor, widgets, a separate theme panel, or a page builder. Dashboard options depend on the active theme.
Usually, yes, when you edit a global template part, theme footer, widget area, or globally assigned builder template. Individual page templates can override or hide it.
Yes. Many builders and advanced themes support display conditions. Block themes can also use different templates or template parts, depending on the theme.
Use responsive columns, readable text, adequate spacing, large tap targets, and a logical stacking order. Preview the footer at multiple screen sizes.
So, how do you edit the footer in WordPress? First identify whether the site uses a block theme, classic theme, widget-based layout, or page builder. Then use the Site Editor, Customizer, Widgets screen, menu settings, or the builder’s global footer template.
A strong footer makes important pages easier to find, reinforces trust, matches the site’s visual identity, and works well on every screen size. Use visual tools whenever possible, keep the content organized, test changes across multiple pages, and reserve direct file editing for situations that truly require it.
You can edit the footer in WordPress through the Site Editor, Theme Customizer, Widgets panel, or a page builder. The correct method depends on the theme and website-building tools your site uses.
Go to Appearance > Editor if you use a block theme, or Appearance > Customize if you use a classic theme. You can usually update footer text, menus, colors, widgets, and layouts without editing code.
Open the footer settings in the Site Editor, Theme Customizer, widget area, or page-builder template. Locate the copyright text, replace it with your business information, and save or publish the changes.
Check the footer, copyright, or theme-credit settings in your theme options. Some themes allow you to remove the credit directly, while others may require a premium setting, custom CSS, or a child-theme edit.
The changes may be hidden by browser caching, a caching plugin, a content delivery network, or a different footer template. Clear all caches and confirm that you edited the footer assigned to the current page.
Yes. Many page builders and block themes let you create multiple footer templates and assign them to specific pages, posts, products, or categories using display conditions or custom templates.