











Introdução
Learning how to edit wordpress website content is one of the most important skills for any website owner, blogger, marketer, or small business team. A WordPress site is never truly “finished.” You may need to update text, replace images, publish new blog posts, change page layouts, test a new plugin, improve your homepage, refresh product information, or adjust your theme design.
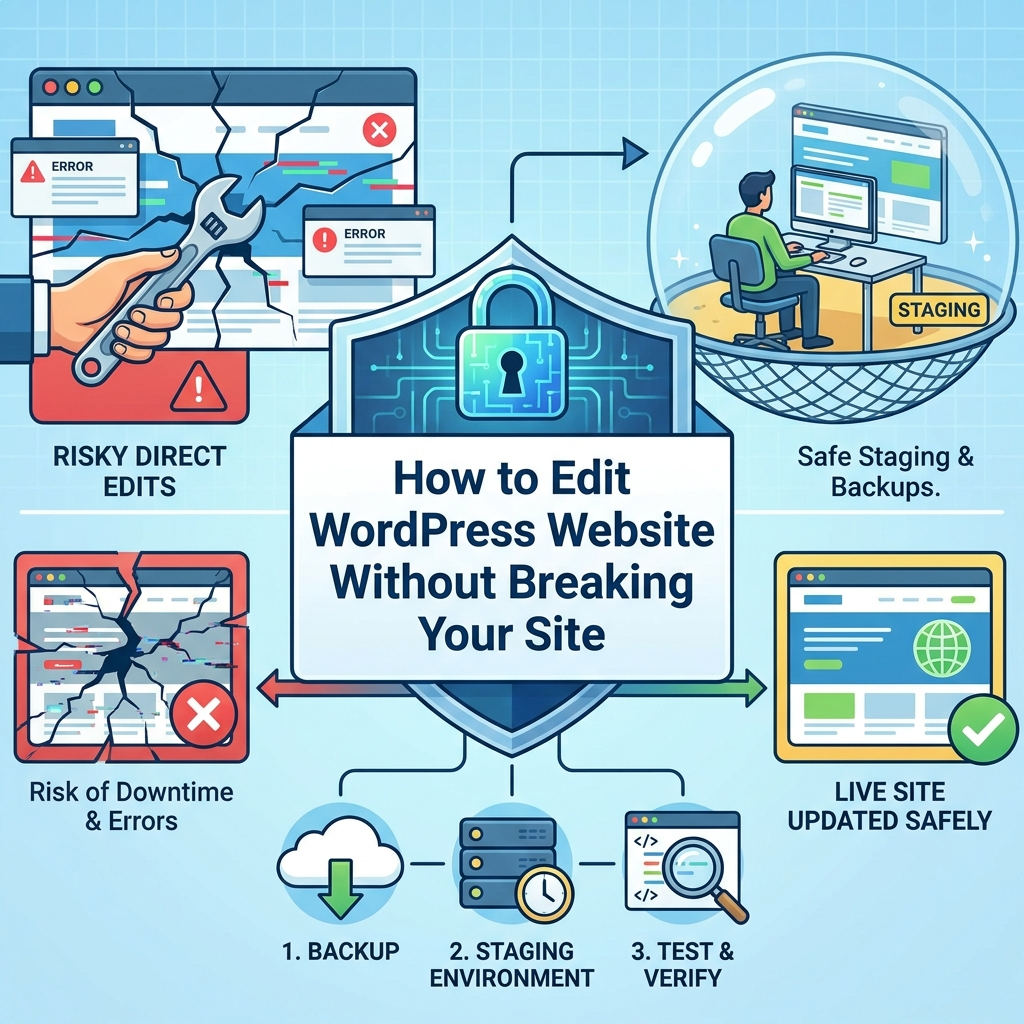
However, editing a WordPress website directly on the live site can be risky. One small mistake can affect your layout, break a plugin, slow down the website, or make important pages look unfinished to visitors. This is why many experienced WordPress users prefer a safer workflow: make edits in a staging environment first, test everything carefully, and only then apply the changes to the live website.
A staging site is basically a private copy of your real WordPress website. It lets you experiment without affecting the version that customers, readers, or clients see. Whether you are changing a headline, updating a plugin, editing CSS, replacing media files, or redesigning an entire page, staging gives you room to work safely.
This guide explains how to edit a WordPress website online in a clear, beginner-friendly way. You will learn what can be edited, why staging matters, how to update content, how to modify themes and plugins, what to test before publishing, and how to avoid common editing mistakes.
Why You Should Avoid Editing a Live WordPress Site Directly
WordPress is flexible, but that flexibility also means many parts of the website work together. Your theme controls the visual structure. Plugins add features. Pages and posts hold your content. Media files support your design. The database stores important settings and information.
When you edit a live website directly, every change becomes visible almost immediately. That is fine for small text fixes, but it can become a problem when the edit affects layout, functionality, or performance.
For example, updating a plugin may create a conflict with your theme. Changing a template may affect multiple pages. Replacing an image may break the visual balance of a section. Editing code without testing may cause errors. Even a simple design change can look good on desktop but bad on mobile.
A live website should remain stable, especially if it receives traffic, collects leads, sells products, or represents a business. Visitors should not see broken layouts, unfinished pages, missing images, or error messages. A safer approach is to test changes privately before publishing them.
What Is a WordPress Staging Site?
A WordPress staging site is a private copy of your live website. It usually includes the same pages, posts, theme, plugins, media files, and settings. The key difference is that the staging site is not the public version visitors use.
This means you can test changes freely. You can redesign a page, update plugins, change menus, adjust the homepage, test forms, edit product pages, or try a new layout without damaging the live site.
Think of staging as a practice room. Your live site is the final performance. You prepare, test, fix mistakes, and review the result in staging first. Once everything looks right, you can move the approved changes to the live website.
For website owners who often make updates, staging can save time, reduce stress, and prevent expensive mistakes.
Benefits of Editing WordPress in a Staging Environment
The biggest benefit of staging is safety. Your live website stays online while you work on changes somewhere else. If an edit causes a problem, only the staging copy is affected.
Staging also helps you test more confidently. You can update plugins, change settings, or try new design ideas without worrying that customers will see errors. This is especially useful for WooCommerce stores, service websites, membership sites, blogs, and business websites with important conversion pages.
Another benefit is better review. Teams can check the edited version before launch. A designer can adjust the layout, a writer can review the copy, and a business owner can approve the final look. This creates a cleaner workflow than making changes directly on the live site.
Staging also helps with troubleshooting. If something breaks, you can investigate the issue without putting the public website at risk. You can disable plugins, inspect logs, test theme settings, or undo changes in a safer environment.
What Can You Edit on a WordPress Website?
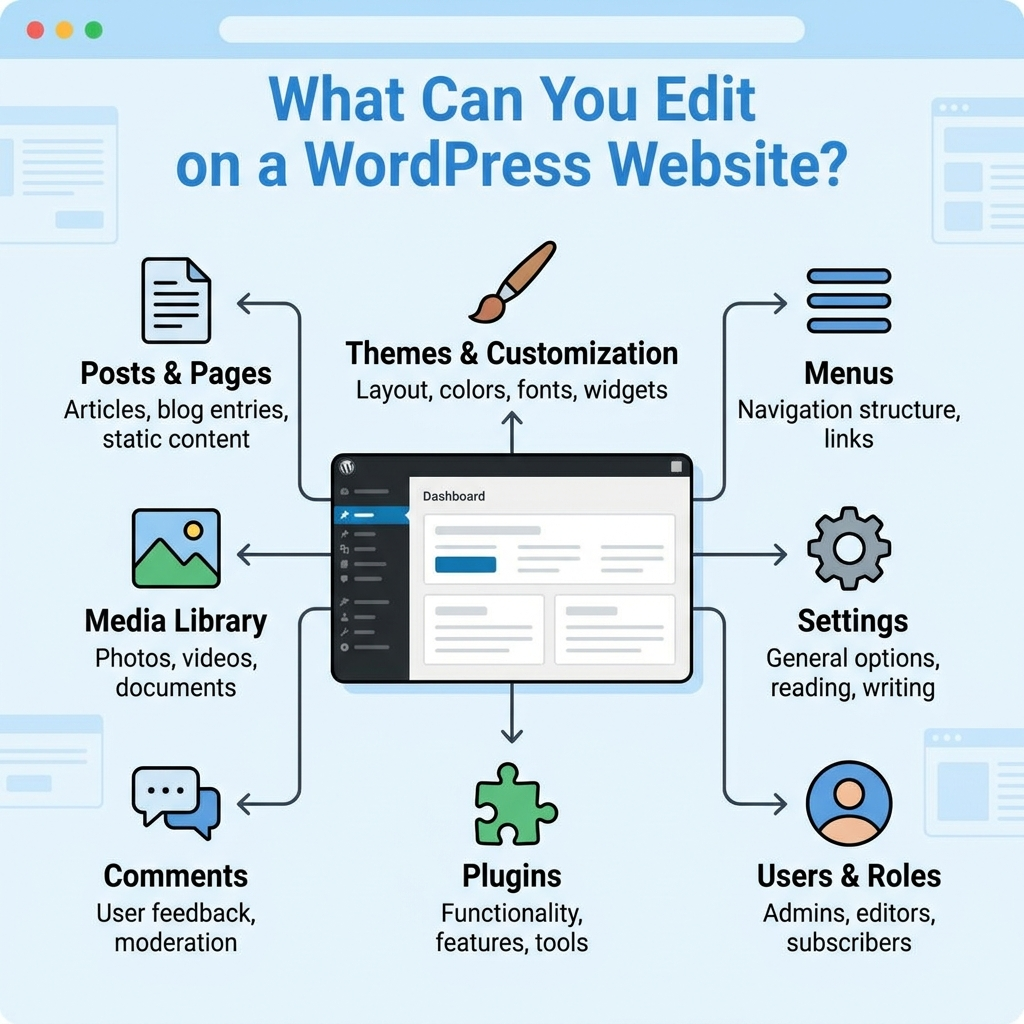
When people search for how to edit wordpress website, they may mean different things. Some want to edit text. Some want to redesign pages. Some want to update images. Others want to change themes, plugins, menus, headers, footers, or code.
In WordPress, the most common editable areas include:
Pages, such as Home, About, Services, Contact, Landing Pages, and Product Pages.
Posts, such as blog articles, news updates, tutorials, and announcements.
Media files, including images, videos, PDFs, icons, and downloadable files.
Menus, including header navigation, footer links, category menus, and mobile menus.
Widgets and blocks, such as sidebar sections, footer columns, buttons, galleries, and call-to-action areas.
Themes, which control the general design, layout, typography, spacing, colors, and templates.
Plugins, which add functions like forms, SEO tools, analytics, sliders, backups, security, or eCommerce features.
Custom code, including CSS, PHP, HTML, JavaScript, and theme template files.
Because these areas affect the site in different ways, you should choose the safest editing method based on the type of change.
How to Edit WordPress Website Pages
Pages are usually used for permanent website content. Common examples include the homepage, about page, services page, pricing page, contact page, FAQ page, and landing pages.
To edit a WordPress page, log in to your WordPress dashboard and go to Pages > All Pages. Find the page you want to edit, then click Edit.
If your site uses the WordPress block editor, you can click directly into text blocks, image blocks, buttons, columns, headings, and other sections. Make your changes, preview the page, and then save or update it.
If your site uses a page builder such as Elementor, Divi, Bricks, or Beaver Builder, you may see a separate editing button. Open the page with the builder and edit the sections visually. Page builders usually let you adjust text, images, spacing, buttons, responsive layouts, backgrounds, and more.
Before publishing the update, check the page on desktop, tablet, and mobile. A layout that looks clean on a large screen may need spacing adjustments on smaller screens.
How to Edit WordPress Blog Posts
Blog posts are usually used for articles, guides, news, updates, and educational content. Editing a post is similar to editing a page.
Go to Posts > All Posts in the WordPress dashboard. Find the blog post you want to update and click Edit.
You can revise the title, introduction, headings, body text, images, links, categories, tags, featured image, and SEO fields. After editing, preview the post to make sure the formatting still looks natural.
When updating older blog posts, pay attention to internal links, outdated information, broken images, and old screenshots. A refreshed article can perform better for users and search engines when it provides clear, current, and useful information.
How to Edit Images and Media Files
Images play a major role in the look and feel of a WordPress website. To manage them, go to Media > Library.
From the media library, you can upload new images, replace old visuals, edit image details, update alt text, and organize media files. WordPress also provides simple image editing tools such as crop, rotate, scale, and basic resizing.
When replacing images, make sure the new file has the right dimensions and quality. Large image files can slow down your website, while images that are too small may look blurry. Use compressed, web-friendly images whenever possible.
You should also update image alt text when needed. Alt text helps describe the image for accessibility and can also support SEO when written naturally.
How to Edit WordPress Menus
Menus help visitors move through your website. A confusing menu can make a site harder to use, while a clear menu improves navigation.
To edit menus, go to Appearance > Menus or use the Site Editor if your theme supports full site editing. From there, you can add pages, remove links, reorder items, create dropdowns, and update menu labels.
Keep menu labels short and easy to understand. For example, “Services,” “Shop,” “About,” “Blog,” and “Contact” are clearer than long or overly creative labels. On mobile, make sure the menu is easy to open, read, and tap.
After changing a menu, test all links to make sure they go to the correct pages.
How to Edit the WordPress Header and Footer
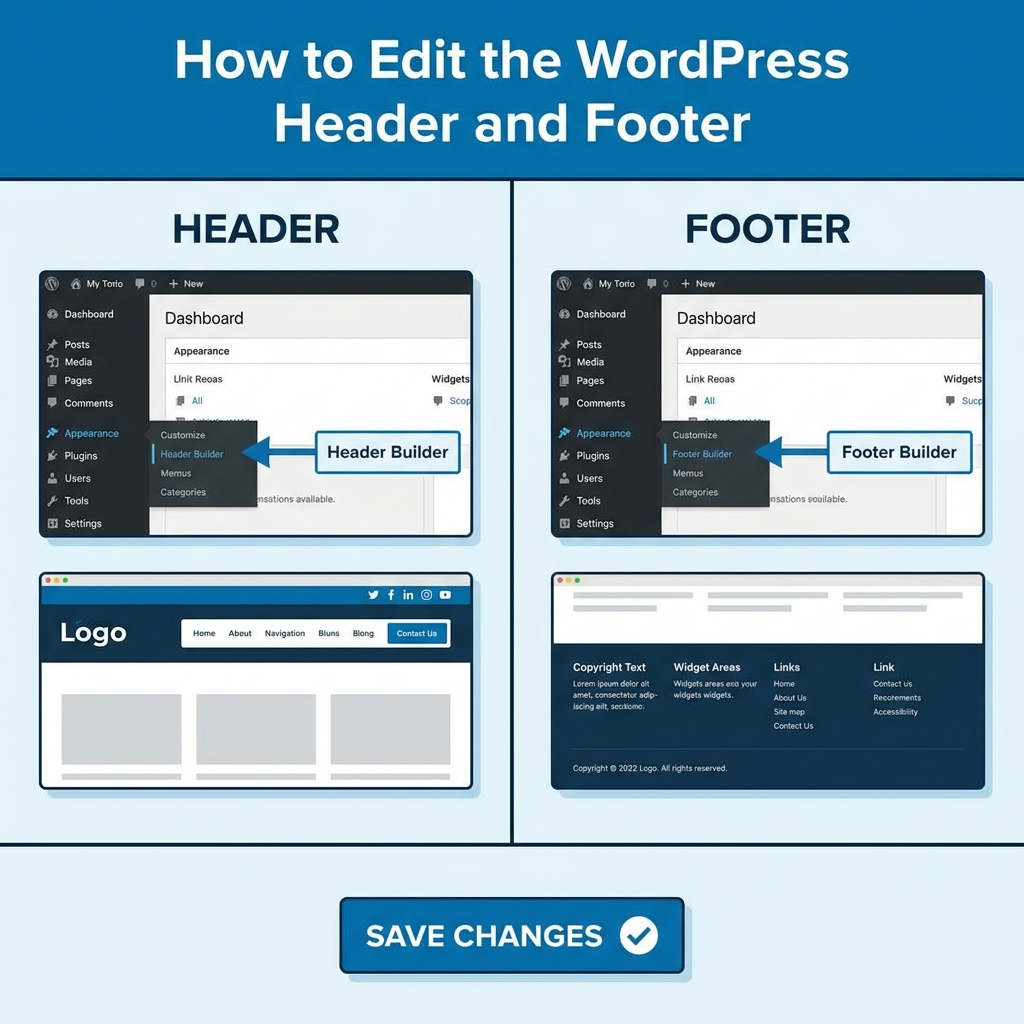
The header and footer are important because they appear across many pages. The header usually includes the logo, main navigation, search, account links, cart icons, language options, or contact buttons. The footer often includes company information, quick links, policies, social links, newsletter forms, and contact details.
Depending on your theme, you may edit the header and footer through the Customizer, Site Editor, theme settings, widgets, or a page builder.
Because header and footer changes affect the entire website, they should be tested carefully. Check desktop and mobile versions. Make sure dropdown menus work, buttons are clickable, icons are aligned, and important links are not missing.
How to Edit WordPress Theme Settings
Your WordPress theme controls the overall design system of your website. It may include settings for colors, fonts, layouts, buttons, blog templates, WooCommerce pages, sidebars, and more.
To edit theme settings, go to Appearance > Customize, Appearance > Editor, or your theme’s own settings panel. The exact path depends on the theme you use.
Theme edits can change the appearance of many pages at once, so avoid making major changes without previewing them first. If you are testing a new theme, do it in staging rather than on the live site. A new theme can change page layouts, widget areas, menus, typography, and plugin styling.
How to Edit WordPress Plugins Safely
Plugins add extra features to your website. They may control contact forms, SEO settings, image galleries, analytics, caching, security, eCommerce functions, popups, sliders, memberships, and more.
To manage plugins, go to Plugins > Installed Plugins. From there, you can activate, deactivate, update, delete, or configure plugins.
Before updating important plugins, especially on a business website or online store, test the update in staging. Plugin updates can sometimes conflict with your theme or other plugins. After updating, check key functions such as forms, checkout, search, filters, login, popups, and page layouts.
Avoid installing too many plugins. Each plugin adds extra code and possible compatibility concerns. Use only what your website truly needs.
How to Edit WordPress Code
Some WordPress edits require code. This may include custom CSS for styling, PHP changes for theme functions, HTML adjustments, or JavaScript for interactive features.
Code editing should be handled carefully. A small mistake in a PHP file can create a serious site error. If you need to edit code, use a child theme, a code snippets plugin, or a safe development workflow.
Do not edit theme or plugin files directly on the live site unless you fully understand the risk. Direct edits may be overwritten by future updates. They may also break the site if the code contains an error.
For design adjustments, custom CSS is often safer than editing core theme files. For deeper changes, staging is strongly recommended.
What to Test Before Publishing Changes
After editing your WordPress website, do not publish changes blindly. Testing is a key part of the workflow.
Start by checking the edited pages visually. Look at the spacing, fonts, images, buttons, colors, and section alignment. Then test the website on different screen sizes, especially mobile.
Click important links and buttons. Submit forms. Test search. Check menus. If you run an online store, test product pages, cart behavior, checkout steps, shipping messages, and payment-related pages.
Also review page speed after major edits. Large images, heavy plugins, sliders, videos, and third-party scripts can slow down the site.
Finally, check for obvious SEO issues. Make sure important pages still have clear headings, readable content, proper title tags, meta descriptions, internal links, and optimized images.
How to Move Staging Changes to the Live Site
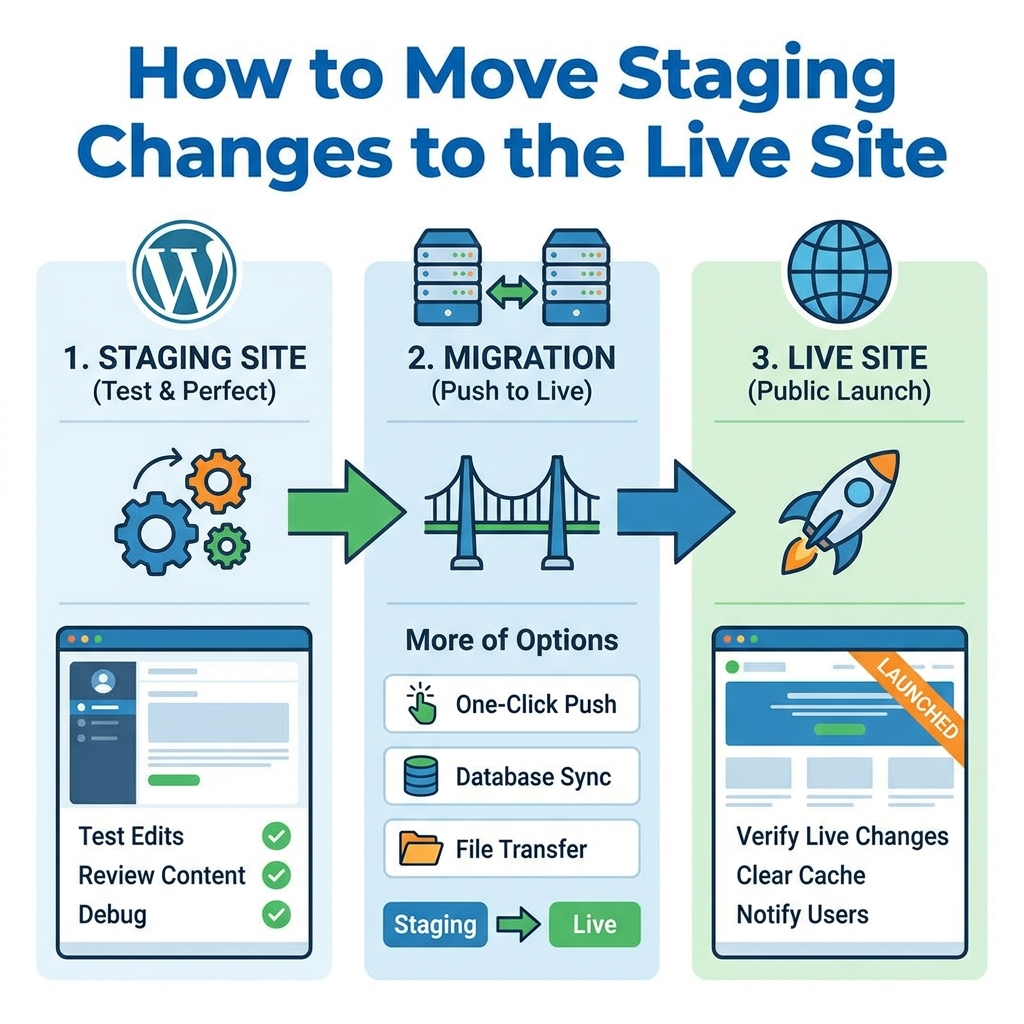
Once your staging edits are approved, you can move them to the live site. The exact method depends on your hosting provider, staging tool, or workflow.
Some tools allow one-click pushing from staging to live. Others let you migrate the site, sync files and database changes, or manually repeat approved edits on the live site.
Be careful when moving database changes, especially on active websites. For example, an online store may receive new orders while you are editing staging. A membership site may gain new users. A blog may receive new comments. Pushing an old staging database over the live database can overwrite fresh live data.
For simple content edits, it may be safer to manually copy approved changes. For larger redesigns, use a proper deployment or migration process.
Before pushing changes live, create a full backup. After publishing, test the live site again.
Common WordPress Editing Mistakes to Avoid
One common mistake is editing without a backup. A backup gives you a recovery point if something goes wrong.
Another mistake is updating too many plugins at once. If the site breaks, it becomes harder to know which plugin caused the issue. Update in smaller batches and test after each major change.
Many beginners also forget mobile design. Since many visitors browse on phones, every important page should look good on smaller screens.
Another issue is replacing images without checking file size. Beautiful images can still hurt performance if they are too heavy.
Some users also edit theme files directly, then lose their changes after a theme update. A child theme or safer code management method can prevent this problem.
Finally, avoid publishing unfinished edits. Always preview, test, and review before making changes public.
Best Practices for Editing WordPress Websites
Use staging for major edits. This includes redesigns, plugin updates, theme changes, code edits, and important layout updates.
Keep regular backups. A backup should include both files and the database.
Make one major change at a time. This makes troubleshooting easier.
Use clear page structure. Good headings, clean spacing, readable text, and simple navigation help visitors understand your website.
Optimize images before uploading. Use the right size, format, and compression.
Test forms and conversion points. Contact forms, checkout pages, quote buttons, booking forms, and newsletter signups should work correctly.
Review mobile layouts carefully. Adjust spacing, font sizes, images, and button placement for smaller screens.
Document important changes. This helps teams understand what was edited and why.
Conclusão
Knowing how to edit wordpress website content safely helps you keep your site fresh, accurate, and professional. WordPress allows you to edit pages, posts, media, menus, headers, footers, themes, plugins, and code, but not every edit should happen directly on the live site.
For small text changes, editing live may be acceptable when you are careful. For larger changes, a staging site gives you a safer place to test updates before visitors see them. You can experiment with layouts, update plugins, adjust theme settings, replace media, troubleshoot issues, and review the final result without risking your public website.
A good editing workflow is simple: back up your site, make changes in staging when needed, preview the result, test key functions, check mobile layouts, and publish only after everything works properly. This approach helps protect your website from errors, downtime, broken designs, and poor user experiences.
Perguntas frequentes
1. How do I edit a WordPress website safely?
The safest way is to create a backup first, then make major changes in a staging environment. After editing pages, plugins, themes, or layouts, test everything before publishing changes to the live site.
2. Can I edit my WordPress website without coding?
Yes. Most WordPress edits do not require coding. You can update pages, blog posts, images, menus, headers, footers, and layouts through the WordPress dashboard, block editor, theme settings, or page builders like Elementor.
3. What is the best way to edit WordPress pages?
Vá para Pages > All Pages, choose the page you want to change, and click Edit. You can update text, images, headings, buttons, and layouts. Always preview the page before publishing.
4. Should I edit my live WordPress site directly?
For small text or image updates, editing the live site is usually fine. For larger changes, such as redesigns, plugin updates, theme edits, or code changes, use a staging site to avoid breaking the live website.
5. Why should I use a staging site for WordPress edits?
A staging site lets you test edits privately before applying them to your real website. It helps prevent broken layouts, plugin conflicts, mobile display issues, and other problems from affecting visitors.
6. What should I check after editing a WordPress website?
Check desktop and mobile layouts, buttons, forms, menus, images, page speed, internal links, SEO titles, meta descriptions, and important conversion pages such as contact, checkout, or booking pages.


Conceber e construir um sítio Web WordPress ou um sítio empresarial com um sistema de comércio eletrónico completo para si.
Faixa de preço: $200.00 a $2,500.00custom-requirements-or-special-quotations
O preço original era: $2.00.$1.00O preço atual é: $1.00. 50 plugins são demais para uma loja virtual WordPress?
Entendendo o Impacto Real no Desempenho Ter 50 plugins em um site de eCommerce WordPress não é automaticamente um problema. Na verdade, o número por si só raramente determina o desempenho....

Explicação do design da imagem principal para o dispositivo de fisioterapia doméstica da Amazon
Introdução: Construindo uma imagem confiável para dispositivos de terapia doméstica na Amazon Ao projetar a imagem principal de um dispositivo de terapia doméstica na Amazon, nosso principal...

Design da imagem principal para conversão de batom da Amazon
Introdução: Conceber uma imagem principal de batom que vende na Amazon Quando concebemos uma imagem principal para um batom da Amazon, a nossa responsabilidade vai muito além...

Como os hackers roubam e-mails de administradores do WordPress (e como impedi-los)
Vamos começar com uma verdade incómoda: o seu e-mail de administrador do WordPress é provavelmente muito mais público do que pensa e os hackers? Eles adoram isso. Para eles, o seu...

O que faz uma base líquida da Amazon converter a imagem principal?
Introdução: Criar uma imagem principal para a base líquida da Amazon não se resume apenas a deixar o produto bonito. Na Amazon, a imagem principal e...

Como projetar uma imagem principal eficaz para cartuchos de filtro Amazon
Introdução: Criar uma imagem principal para a Amazon nunca se resume apenas a tornar um produto atraente. Trata-se de clareza, confiança e compreensão imediata — especialmente para...
Ataques de repetição no WordPress: ameaça real ou mito exagerado?
Vamos esclarecer uma coisa primeiro. Ataques de repetição não parecem assustadores. Eles não quebram senhas. Eles não injetam código malicioso com texto verde de hacker voando por toda parte. Eles são sorrateiros...
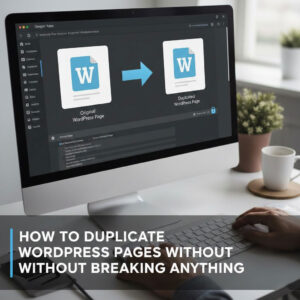
Como duplicar páginas do WordPress sem danificar nada
Vamos ser sinceros. Às vezes você não quer criar uma página nova. Você só quer a mesma página… mas um pouco diferente. Mesmo layout. Mesmos blocos. Mesmas configurações. Porque….

Comparativo de cinco temas WordPress para animais de estimação
Introdução Escolher o tema WordPress certo para o seu negócio de animais de estimação é mais do que uma decisão de design — afeta diretamente a usabilidade, a escalabilidade e o crescimento a longo prazo. Cuidados com animais de estimação e...
Comparando cinco temas de e-commerce de moda praia
Introdução: Escolher o tema certo para uma loja independente de moda praia ou lingerie não é apenas uma decisão visual — afeta diretamente as taxas de conversão, a escalabilidade e o sucesso a longo prazo...
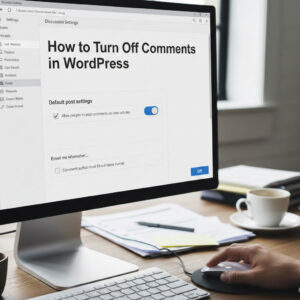
Como desativar os comentários no WordPress (sem enlouquecer)
Vamos falar sobre os comentários do WordPress. Em teoria, os comentários são ótimos. Eles incentivam a discussão, constroem comunidade e dão vida ao seu site. Na prática? Muitas vezes, eles atraem...

Erro 500 do WordPress: Quando seu site decide entrar em pânico
Seu site WordPress estava funcionando perfeitamente até um minuto atrás. Você atualizou a página. E de repente — bum 💥 — Erro Interno do Servidor 500. Sem explicação. Sem pedido de desculpas. Apenas uma mensagem fria e confusa que basicamente...

Criando um site WordPress escalável para uma marca voltada para a ciência: o projeto AminoUSA
Introdução No cenário digital atual, um website é mais do que um lugar para listar produtos. Para marcas com foco em ciência que atuam em setores regulamentados ou voltados para pesquisa, um...

Construindo uma loja Shopify escalável para uma marca global de lâminas: O Projeto CoolKatana
Introdução No comércio eletrônico internacional, um site Shopify é muito mais do que uma vitrine. Para marcas que atuam em nichos de mercado e categorias culturais específicas, o site precisa fazer muito mais do que...
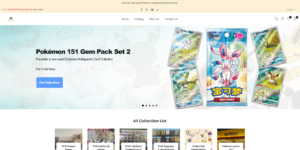
Criando uma loja Shopify de alta conversão para cartas Pokémon.
Introdução No mundo do comércio eletrônico de itens colecionáveis, especialmente no mercado do Pokémon Trading Card Game (TCG), um site precisa fazer mais do que simplesmente listar produtos...
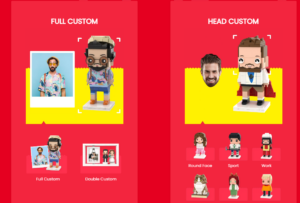
Design Shopify de alta conversão para uma marca de tijolos personalizada.
Introdução No cenário competitivo do comércio eletrônico atual, especialmente no segmento de presentes personalizados e itens colecionáveis, um site Shopify precisa fazer muito mais do que simplesmente exibir produtos. Ele...
Como entrar em contato com o suporte da Shopify: um guia simples e sem complicações.
Gerir uma loja Shopify deve ser uma experiência empolgante, não confusa. Quando surgem dúvidas ou problemas que atrapalham o seu trabalho, a Shopify oferece diversas opções de suporte, dependendo da situação.
Como desativar uma loja Shopify: um guia claro e prático
Desativar uma loja Shopify não é complicado, mas acarreta consequências que muitos lojistas ignoram. Este guia explica o processo de forma simples e didática...