









WordPress Speed Optimization: Troubleshooting Images, Plugins, and Caching
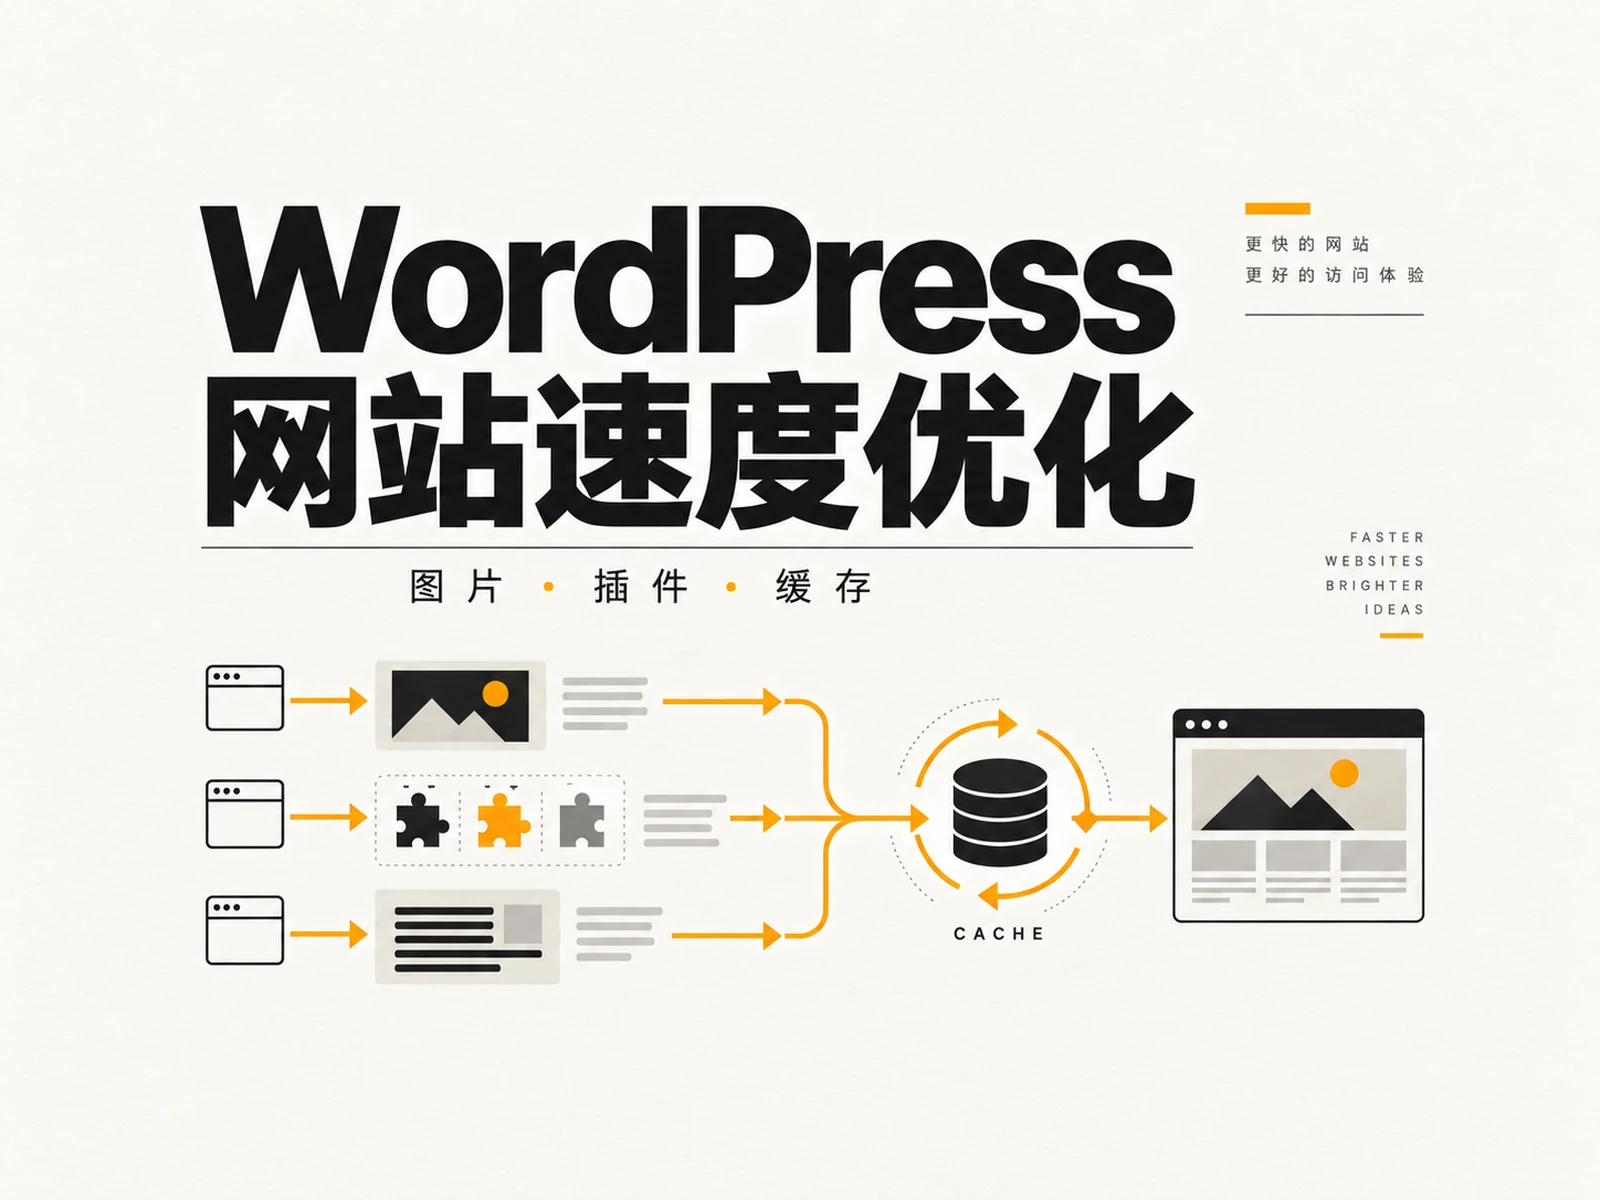
To optimize WordPress website speed, it is recommended to start with a speed test under the same conditions, then process first-screen images, plug-ins, and cache based on evidence, and finally retest business functions. Slow opening is not necessarily due to insufficient host; installing an additional acceleration plug-in may not solve the problem. For corporate websites that have already been launched, first find out where the waiting is happening. It is easier to judge the effect than turning on all optimization options at once.
1. WordPress website speed optimization first establishes a test baseline
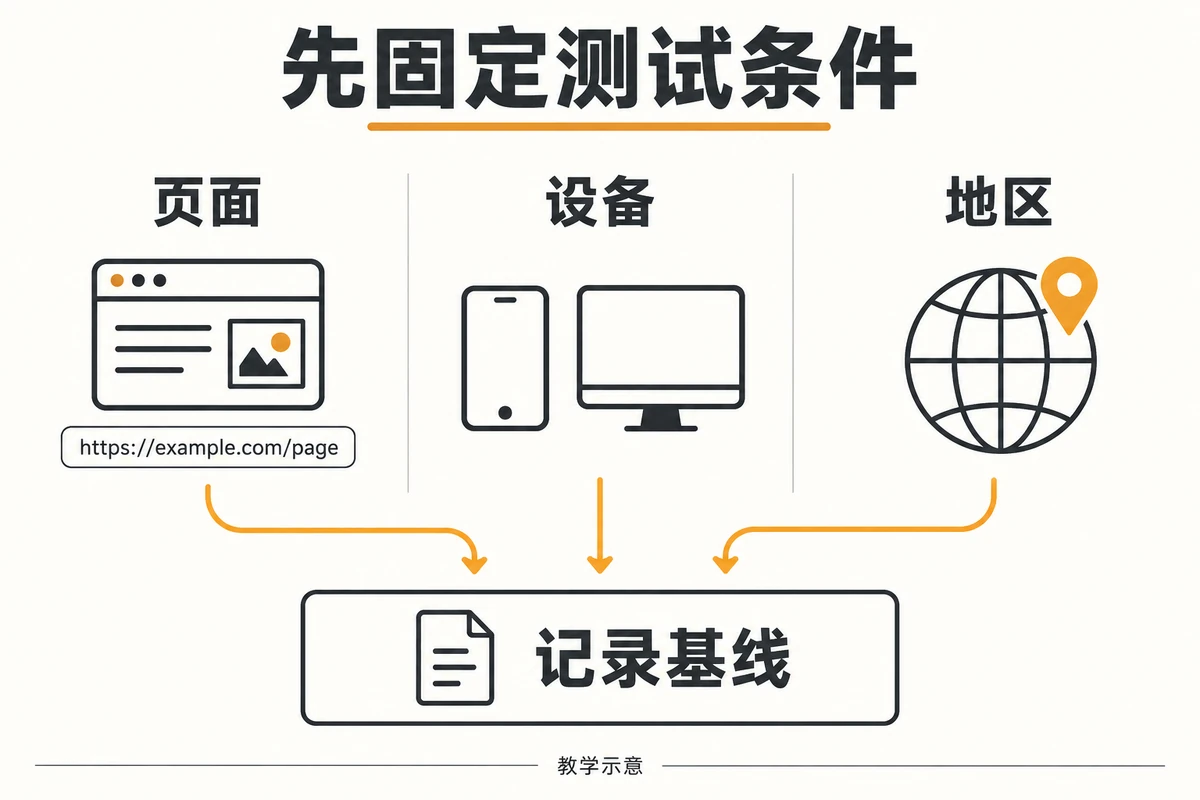
Select the representative page and fix the comparison conditions
First select the homepage, a main product page and a page with a customer inquiry entry. Record the page address, test time, mobile or desktop mode, and the tool’s optional test region. Foreign trade websites should focus on the region where the target customers are located, and should not draw conclusions based solely on the loading experience under the office network. Subsequent comparisons keep the tools and conditions consistent, and record whether you are logged in and whether the cache has been warmed up.
It is recommended to repeat the test several times to retain the fluctuation range of the results, rather than just picking the highest score. Save the report first, and then write down the judgment you want to verify this time, such as “it is too late to start downloading the first screen large image”.
Distinguish between instant diagnosis and real user experience
Google’s PageSpeed Insights Instructions A distinction is made between laboratory data and real user data: the former helps locate problems under simulated conditions, while the latter comes from qualified real visits, using a data window of the past 28 days. Changes that have just been launched will not be fully reflected in this window immediately; without on-site data, it cannot be understood that the website has reached the standard.
When reading the report, treat maximum content appearance, operation response, and layout movement separately. The large picture is delayed in appearing, and the button does not respond when clicked, which may require different troubleshooting actions. The following table is a troubleshooting suggestion, not the actual test results of this website.
| Observe phenomena | Find evidence first | priority action |
|---|---|---|
| The first screen image appears late | Image request time, file size | Check size and resource discovery order |
| Button interaction stuck | Long tasks and related scripts | Isolate and troubleshoot unnecessary scripts |
| Page response waits long | Document requests and cache status | Check server response and cache configuration |
If multiple pages are slow, focus on shared resources first; if only a certain product page is slow, start with additional images, components, and external scripts loaded on that page.
2. First check the image size and first screen loading order
Prepare pictures according to actual display needs
Image optimization starts with getting the browser to download the appropriate files. Check the actual display width of the page and see if it downloads a much larger original image than required. Product detail images need to retain texture, while decorative backgrounds may not necessarily require the same clarity; they should be exported based on purpose, rather than applying a fixed volume limit to the entire site.
WebP is a format that can be evaluated, but just because the file becomes WebP, it does not mean that the problem has been solved. Oversize, high quality, and loading too many images on the same screen can still cause waste. Compare the file size and visual effects before and after conversion, check whether the mobile terminal receives a version suitable for the screen, and retain the width and height of the image to reduce the situation of squeezing the text after loading.
You can first select a reused product image module as a pilot: confirm the image size, replace the test file, check the cropping and sharpness, and then retest the same page. Do not directly overwrite all the original images in batches, otherwise the product details will be lost and cannot be restored.
Don’t lazily load key images on the first screen
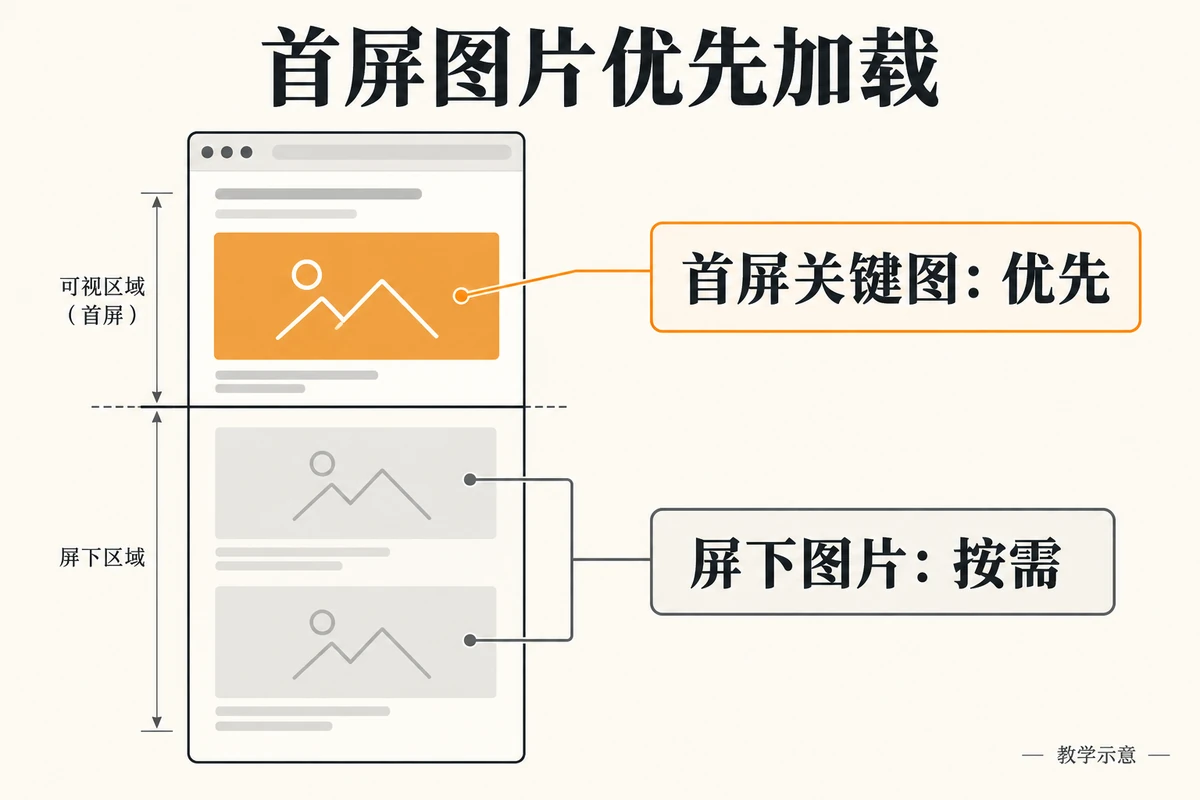
Google’s LCP Optimization Guide As a clear reminder, do not use lazy loading for images that serve as above-the-fold LCP elements. It is often the main product image that visitors need to see when they open the page; if the request is initiated after the script is run or the scrolling judgment is made, even if the file is compressed, the download may still start late.
Therefore, it is necessary to distinguish between key images on the first screen and content images below the screen: the former should be discovered by the browser as early as possible, and the latter can be delayed in loading at the appropriate time. Don’t set high priority for all images at the same time, and don’t preload all site-wide images in batches without checking. First confirm the resources that really affect the first screen, and then decide whether to adjust its loading method.
Check in the browser network panel when the image request was made and what happened before waiting. If the original image is hidden behind a carousel or background script, you can evaluate and simplify the first-screen display; however, the product selling points and necessary interactions must be retained.
After completion, check both the mobile phone and the desktop at the same time: whether key areas of the product have been cropped, and whether the layout has jumped after size adjustment. If you are planning WordPress official website construction , these image specifications and loading rules can also be included in the acceptance list in advance.
3. Check the plug-ins and cache again, and retest the business actions.
Based on the evidence, change one item at a time
The number of plug-ins is not the only criterion. A function that loads a large number of scripts throughout the site may be more worthy of investigation than multiple lightweight plug-ins; there are also problems arising from third-party statistics, customer service, or embedded content. First map the slow requests in the report to specific functions, and then decide which resources are really necessary to appear on the current page.
Kinsta’s WordPress slow site troubleshooting article Adopt the idea of diagnosis first and then repair. This article draws on this organizational method, narrows the scope of operations to pictures, plug-ins, and caches of existing corporate sites, and adds customer inquiry business retests; it does not use the test results of peer sites, nor does it regard a certain product as a universal answer.
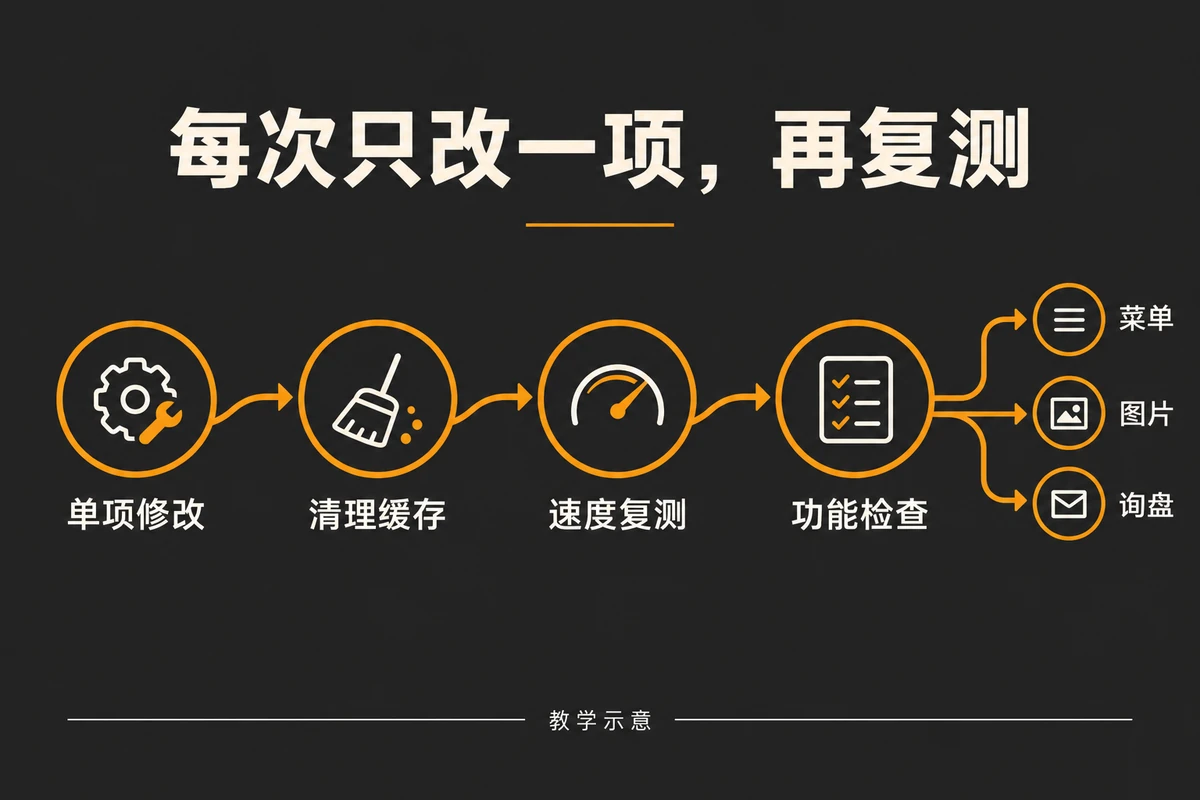
Back up before modifying, disable non-essential functionality one by one in a test environment, or limit the scope of its loading. Only change one item at a time, record the modification content, affected pages and rollback methods, and then retest using the original conditions. Do not deactivate a batch of plug-ins at the same time on the production site: you may disrupt functionality that customers are using.
Clear the corresponding cache and confirm that visitors see the new version
Before adjusting caching, first confirm which caching tiers are provided by your host, WordPress plugin, and CDN. Don’t overlay similar functions just because you see the word “accelerate”. After modification, clear the relevant cache according to the existing configuration, and then use the non-login window to check the page to avoid mistaking the old version for the optimized result.
Cached public pages and dynamic scenarios such as login, search, and shopping cart should be verified separately. Content with personal status or real-time data cannot copy the caching policy of ordinary article pages. Even if the homepage performs well when the cache is hit, it cannot be concluded that all pages and all access statuses are normal.
Finally, walk through the real business path: open the mobile menu, switch product images, enter the form, trigger required verification, and then confirm that the submission is successful and the email is delivered. The customer inquiry path can also be combined with International business websitecustomer inquiry optimization inspection Acceptance together.
If the menu fails, the form cannot be submitted, or the content is displayed incorrectly, roll back the most recent change first and then check the cause. Finally, the pre- and post-change reports, operation records, and functional check results are retained to facilitate continued positioning in the next round.
Conclusion: Measure first, then modify. Only when the function is passed is it completed.
WordPress website speed optimization should be driven by repeatable evidence: establish a baseline, confirm images and above-the-fold resources, and then check plugins and caches one by one. Every modification must verify the loading performance and business functions, and you cannot just chase the test score once. If you still need to coordinate search crawling and page content, you can check further SEO optimization services , incorporate performance checks into your complete website maintenance plan.